Mastering Exposure and Contrast in Darkroom Printing - Test Strip techniques
Mastering Exposure and Contrast in Darkroom Printing - Linear Test Strip
At the enlarger
I start with Grade 2 (even contrast) for the test strip using Ilford multigrade filters under the lens.
After placing your negative in the enlarger's carrier and adjusting focus with your focus finder, you're not ready to print yet.
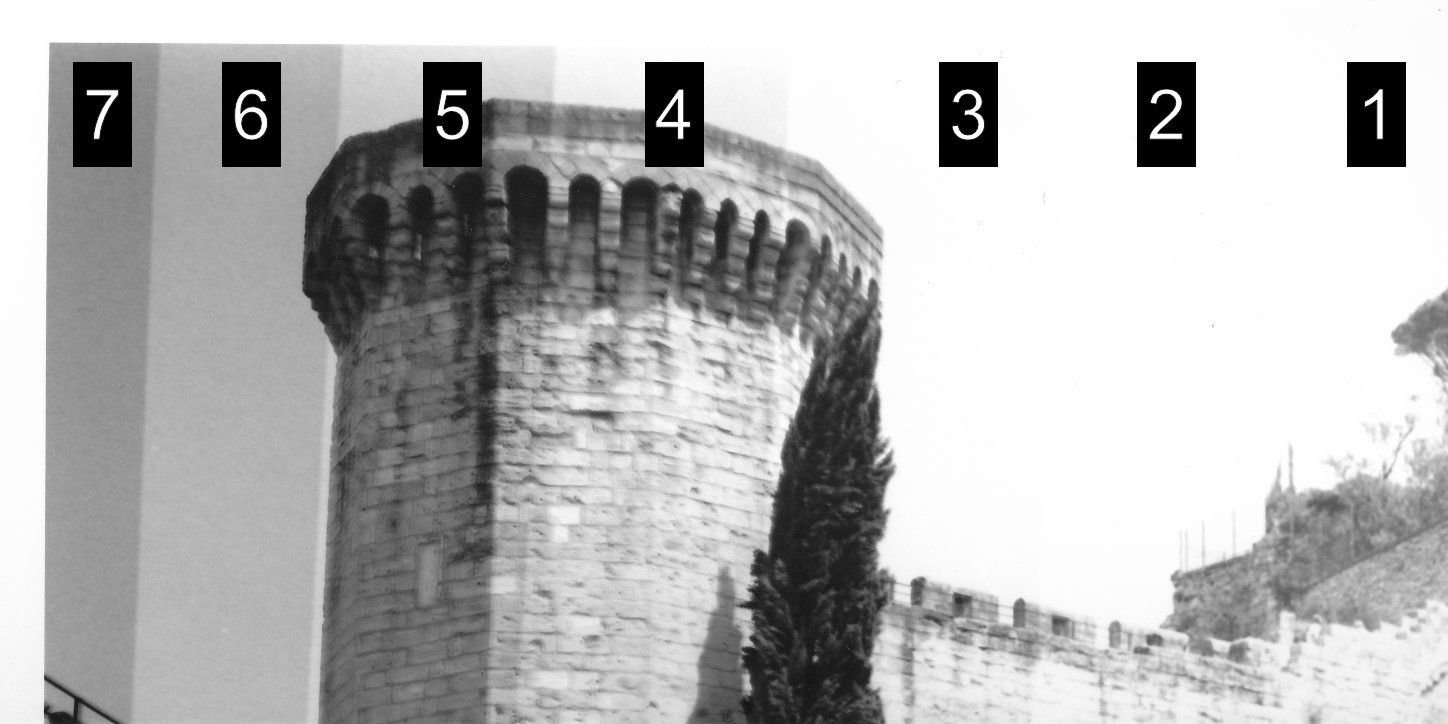
In order to spare photographic paper, you will need to make test strips. I usually cut my photographic paper into thirds, place it on the part of the image I want to check for highlights and expose it incrementally:
* Expose the entire sheet for the first 5 seconds.
* Without moving the paper, cover the first 2 centimeters and expose the uncovered section for another 5 seconds.
* Repeat the process by covering an additional 2 centimeters each time and exposing the new section for 5 seconds.
Note : As different papers (resin-coated, fiber-based) react differently to constrast and exposure, always make test strips with the specific type of paper you want to print.
Developing the print
Develop the test strip by immersing it sequentially in the developer, stop bath, and fixer. Always carry out this process under a safelight (e.g., red). For this chemical process, I use Dev It Darkroom Timer, I set a development time, a stop bath time and fixing time. This app emits red light to protect photographic paper.
The Dev Tray
I use Ilford Multigrade paper developer 1:9 (dilute 1 portion of dev concentrate in 9 portions of water) in a tray that is placed on Kaiser Fototechnik Developing Tray Warmer, which helps me keep the dev temperature constant (20°C).
Once the image starts to appear in the developing tray, I take a look at the clock (identify 15 seconds, for example) and multiply that time by 10 to get the whole dev time : 150 seconds, i.e. 2m30s.
I tilt the tray during the whole process. Every 30 seconds, I flip the photo paper and then flip it back right away.
The Stop Bath Tray
When the timer bell rings, I put the picture in the stop bath for 1 minute (water + a cap of acetic acid). Manipulate acetic acid carefully and store it away from children's reach because it is very corrosive.
The Fixer Tray
When the timer bell rings, I drop the picture in the fixing tray : I use Ilford Rapid Fixer 1:4 (1 dose of fixer concentrate with 4 doses of water). At 20°C, fixing time is about 1-2 minutes. In winter, my bath should be around 15°C, I use the fixing bath for up to 3 minutes. As for the developing process, I tilt the tray regularly and flip the picture every 30 seconds.
Test Strip Analysis - Expose for highlights, develop for shadows
"Expose for highlights, develop for shadows" is often associated with Ansel Adams, the famous American photographer known for his black-and-white landscape images.
This principle to achieve well-balanced prints requires that your highlights retain detail without blowing out, while shadows hold enough depth to create a dynamic tonal range.
The analysis of your test strip should be done under normal lighting conditions, otherwise, the safelight will not let you identify the exposure steps you used.
Analyzing a test strip requires you to first look for expected highlights, i.e. highlights of your liking that often present as areas like clouds or light reflections that should appear bright but retain subtle texture. Once you've found the time for these "correct" highlights according to your eye (or your artistic intention), you then look for shadows that are correctly exposed.
* EXAMPLE #1 : if highlights and shadows appear on the same part of the test strip : grade 2 is a good fit
* EXAMPLE #2 : if highlights come first and shadows appear later, you will have to make another test with a higher grade. You will then need to repeat the test strip operation since changing grades affects exposure times
* EXAMPLE #3 : if shadows come first and highlights appear later, you will have to make another test with a lower grade. You will then need to repeat the test strip operation since changing grades affects exposure times
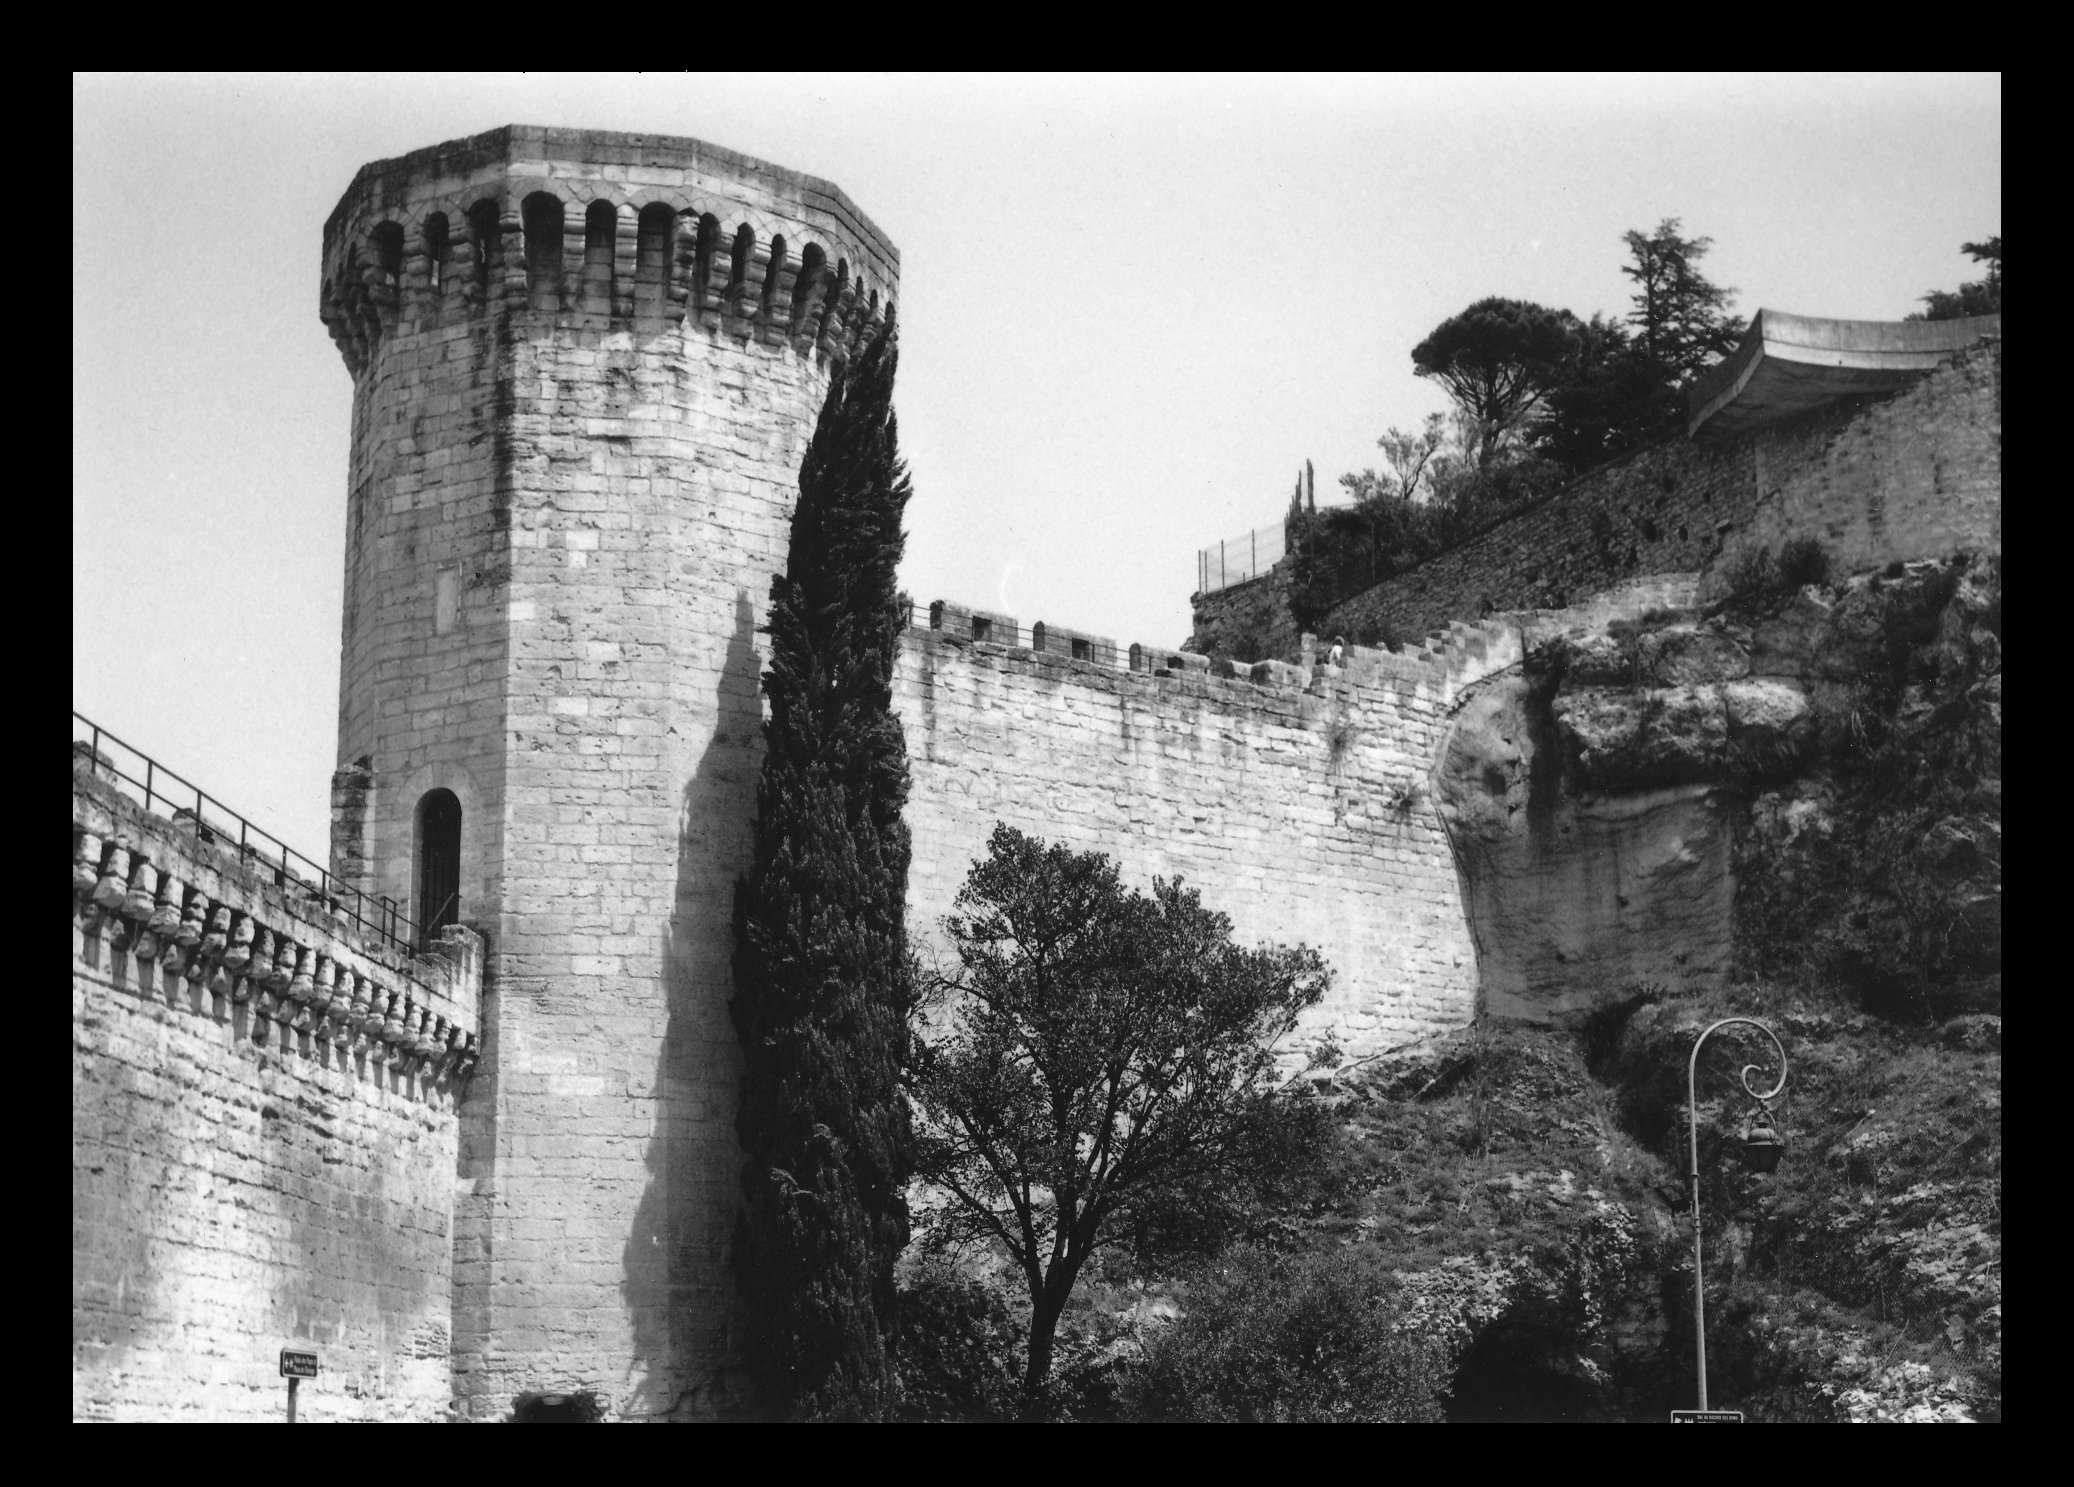
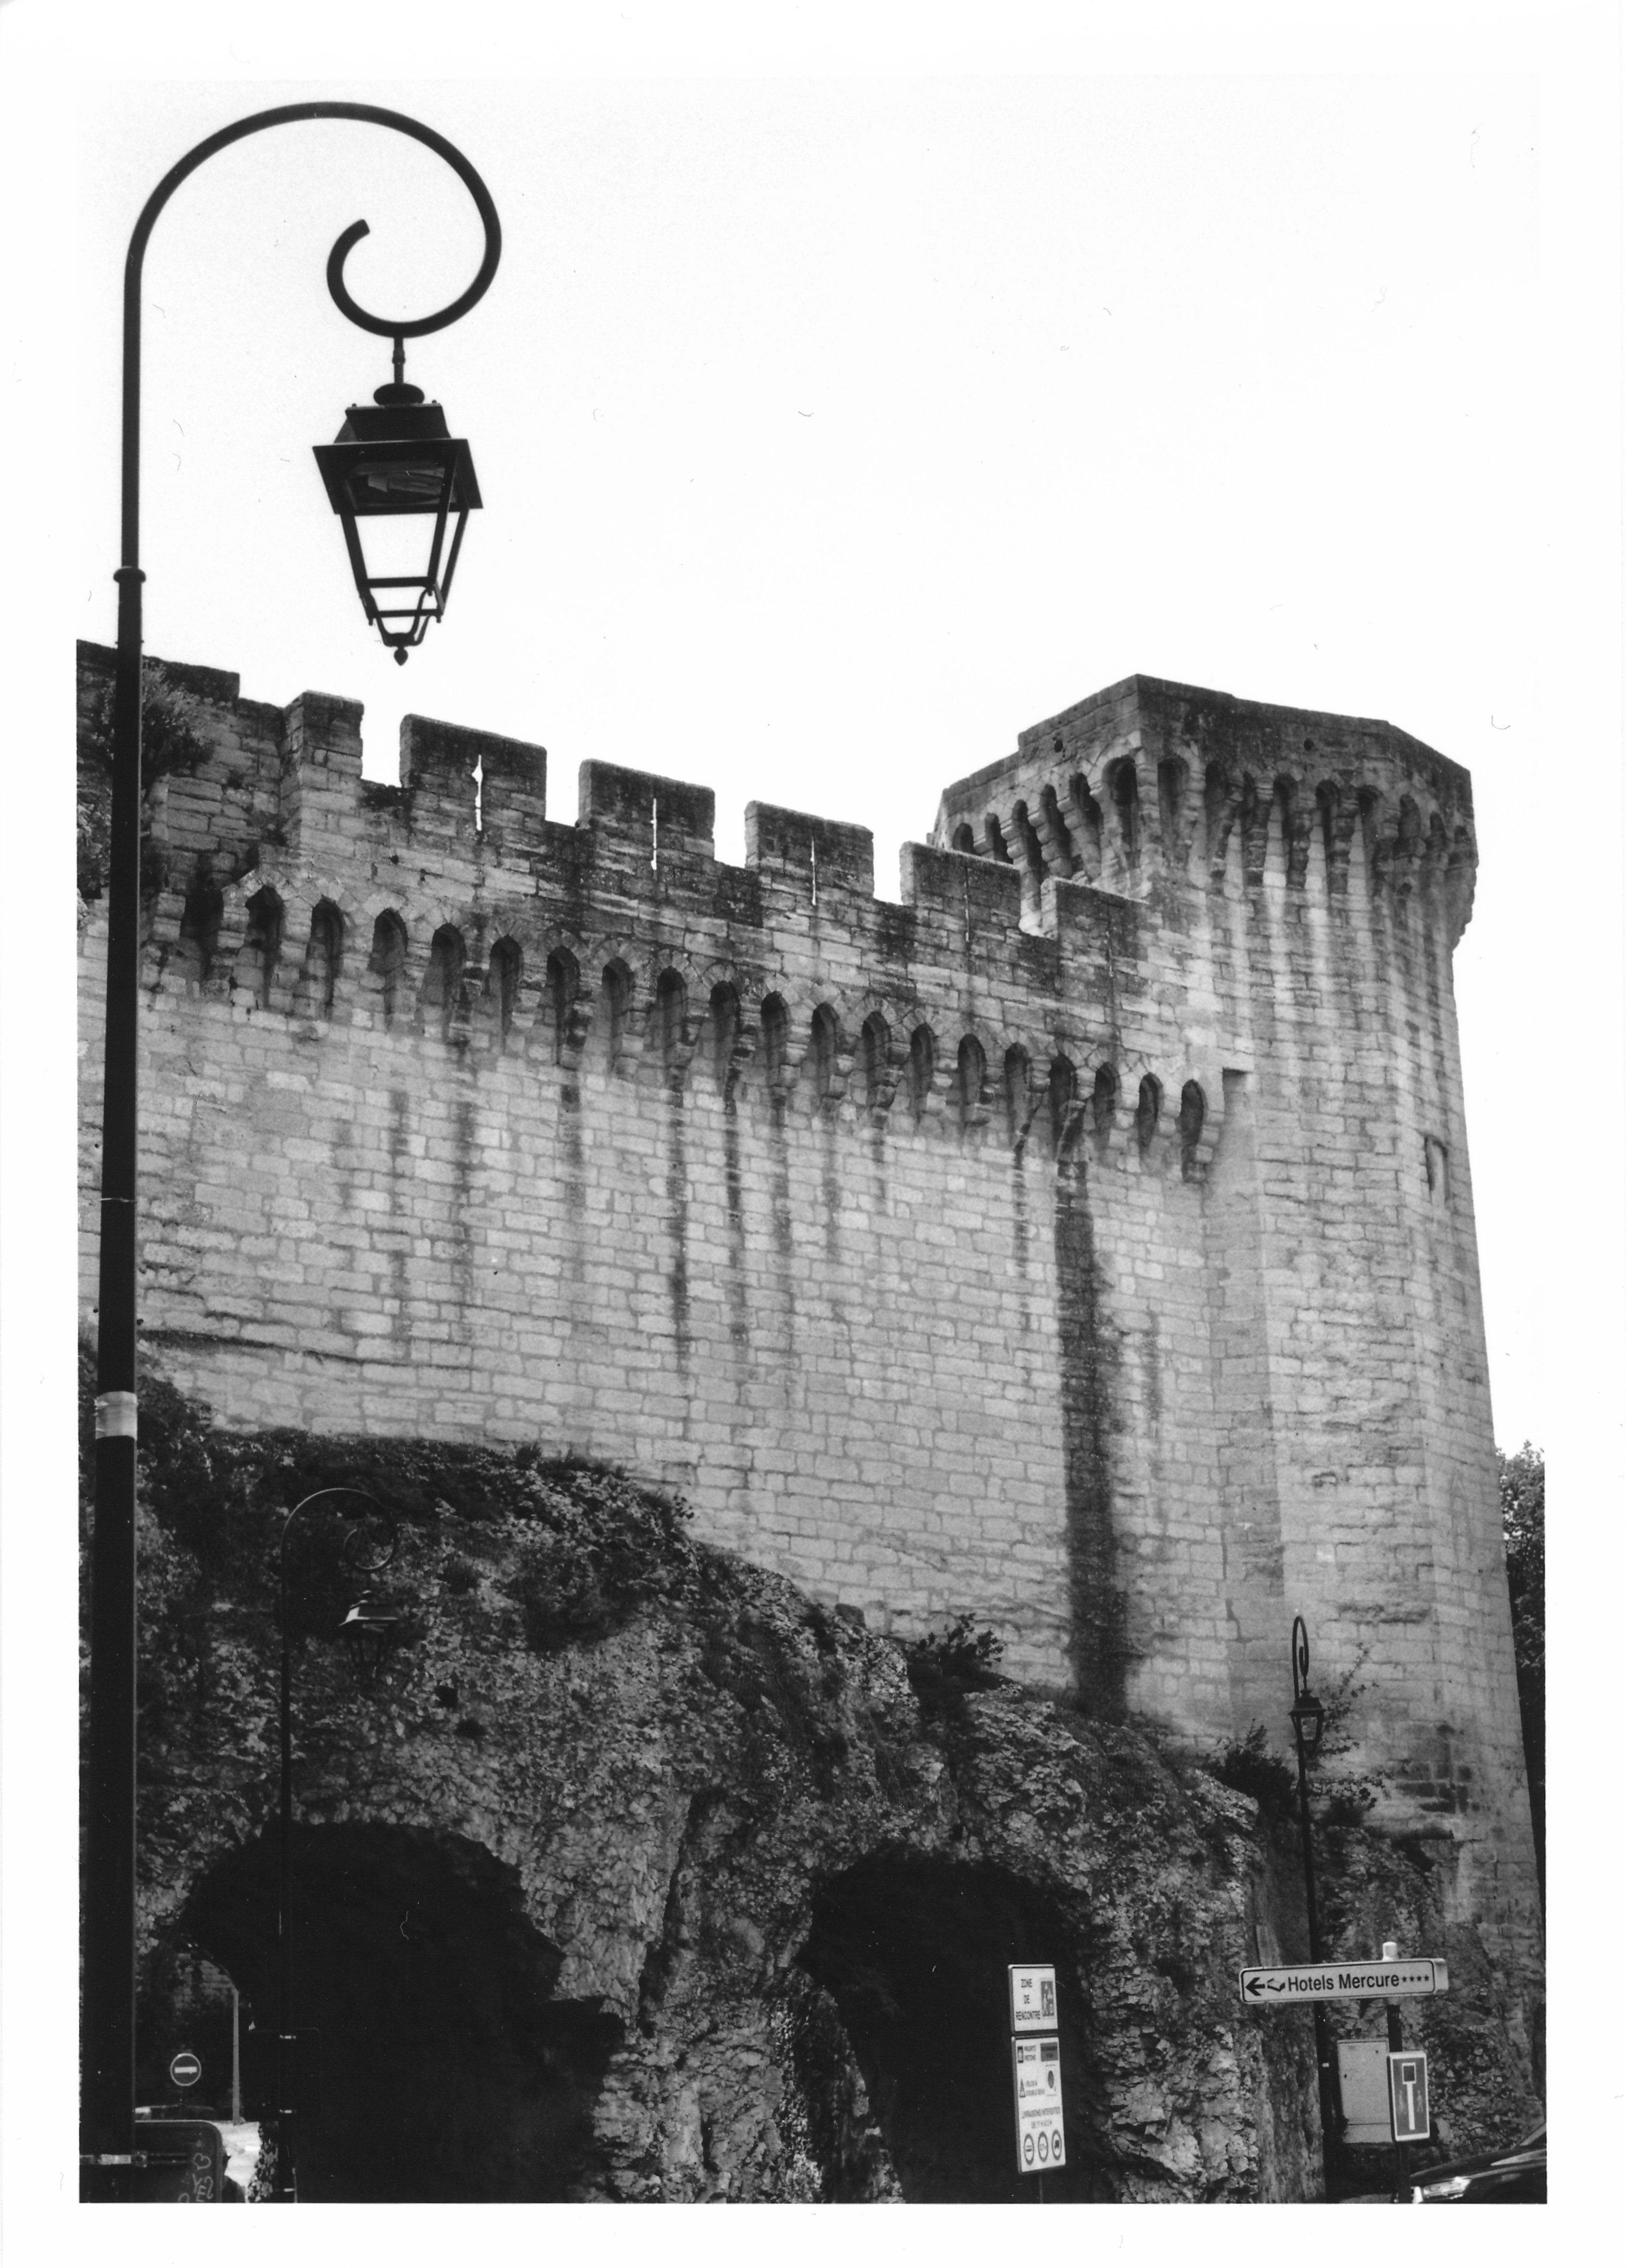
13x18cm - f/8 - Grade 2 - 11 seconds - 2 seconds dodge pine tree
Example #2 - Highlights Come First - A Higher Grade Is Required
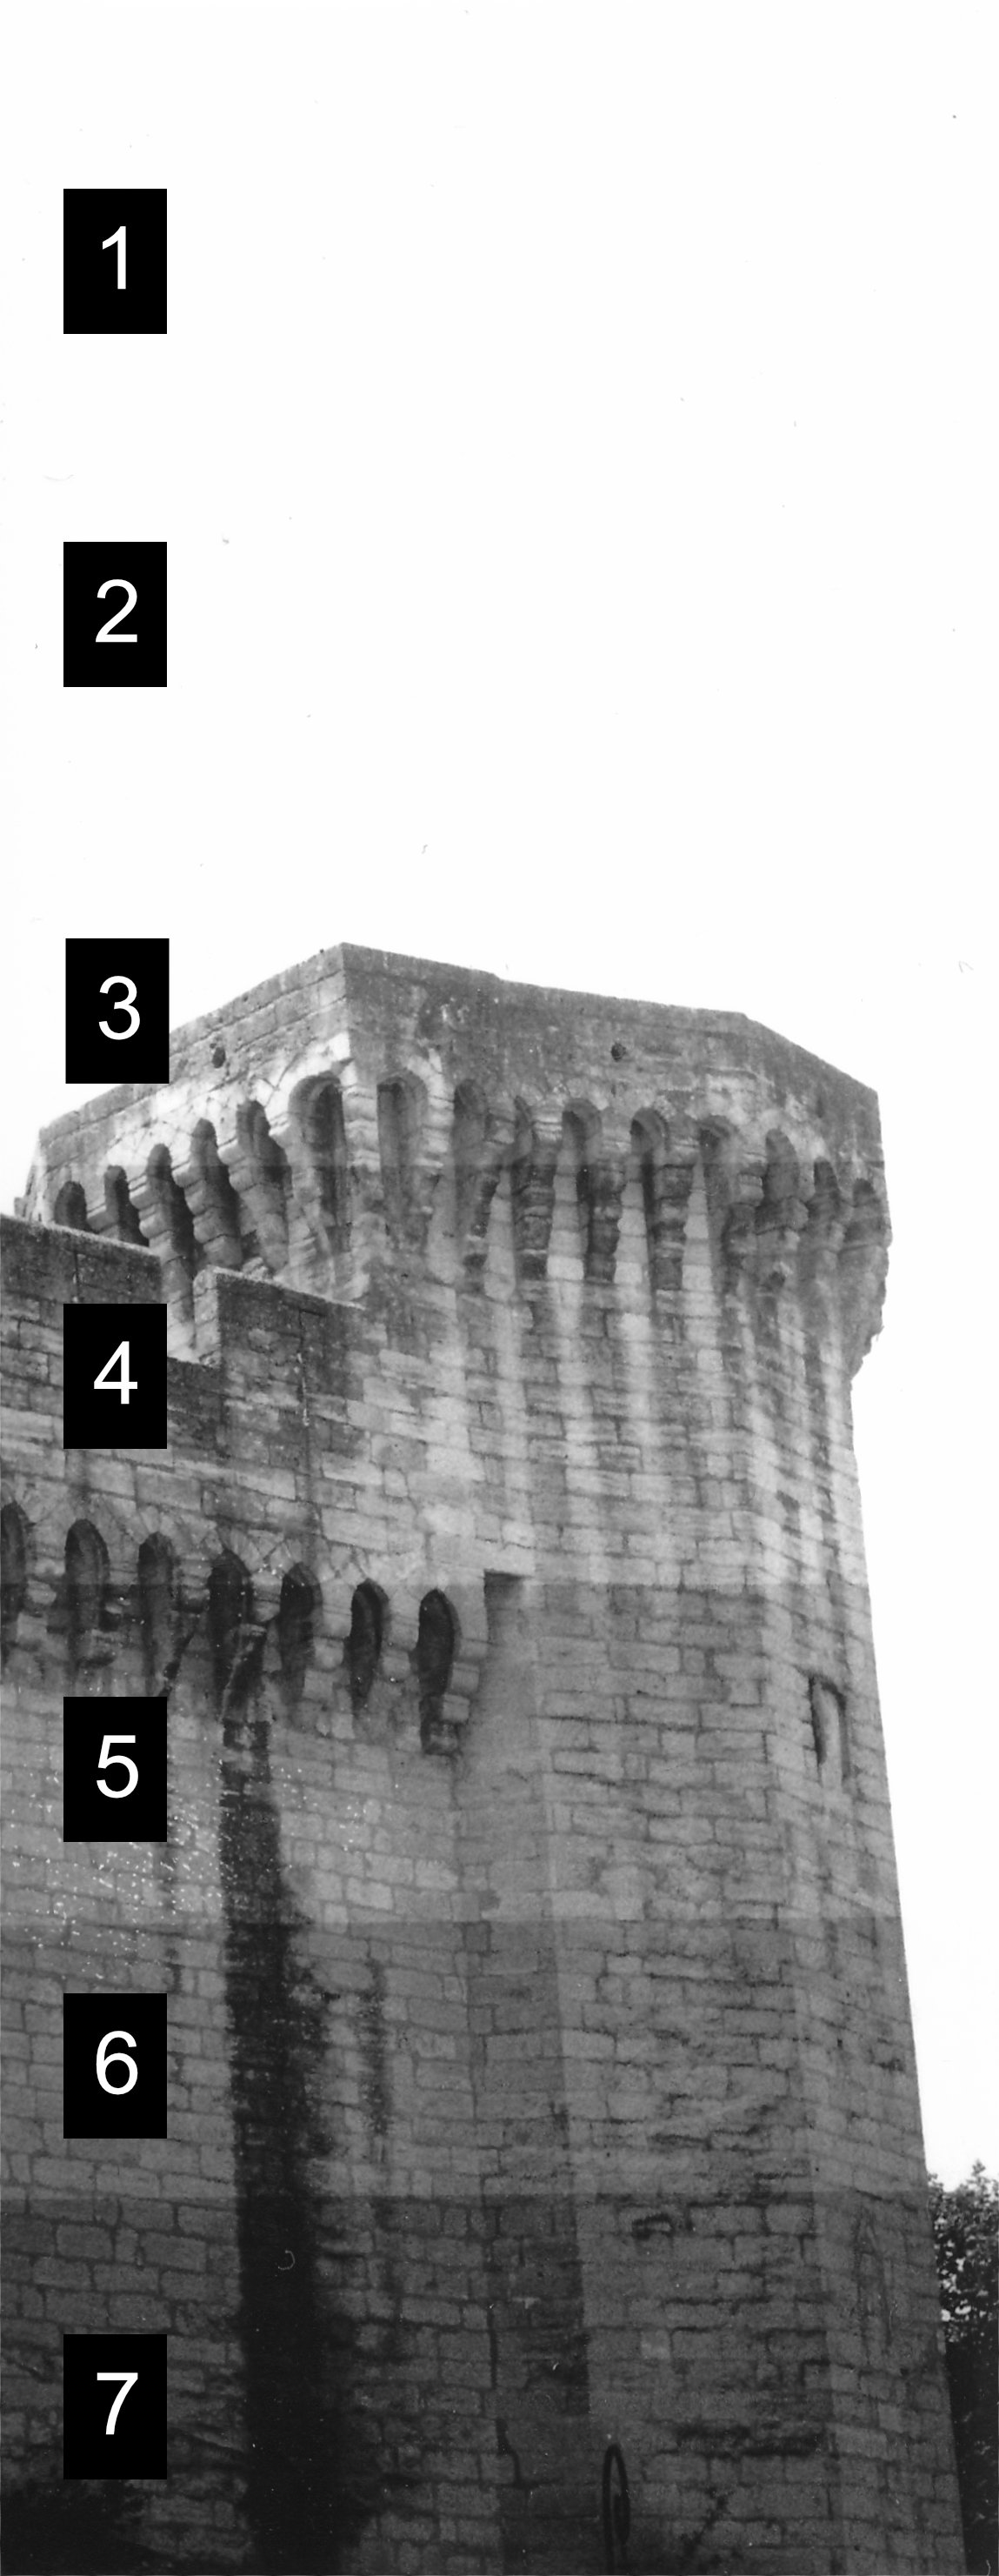
In my second example (below on the left), highlights appear in the second step of my test strip. Shadows only arrive in the third step. This means a higher contrast will help them to appear at the same exposure time. The test was done with Grade 2. I tested Grade 2.5 (below on the right) where highlights appear not too dense and shadows show details on step 4, gaining some contrast with this slightly higher grade. I printed the negative with Grade 2.5 at 11.7 seconds. No dodging, no burning required. Easy peasy!
Here is the final print :
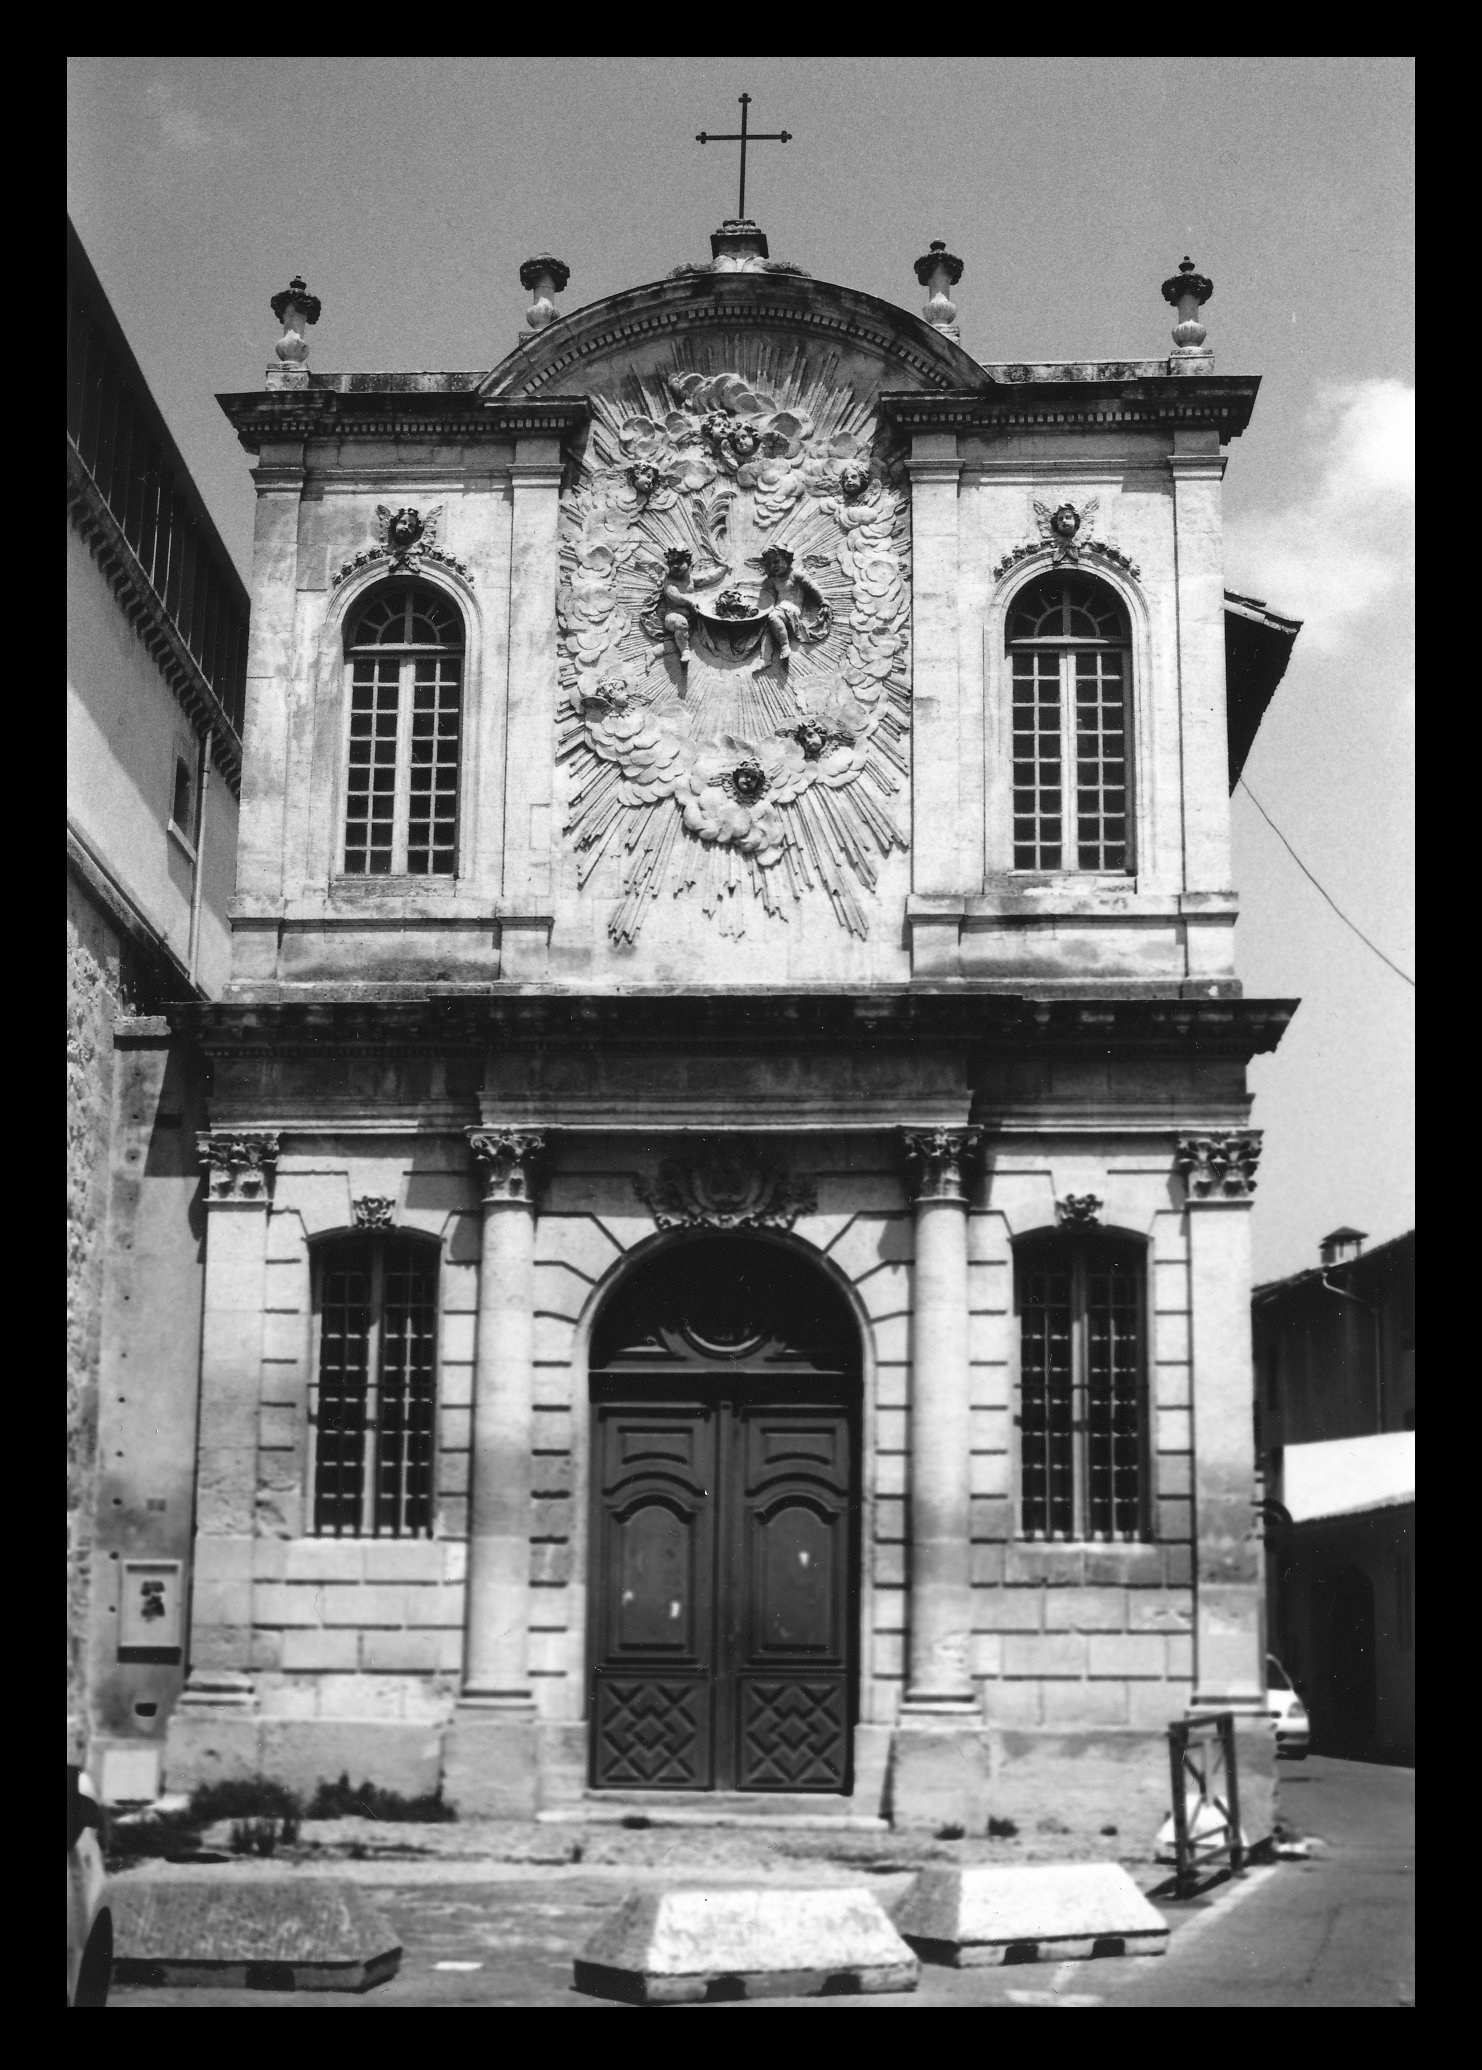
13x18cm - f/8 - Grade 2.5 - 11.7 seconds
Example #3 - What If The Brightest Part of the Image Keeps Pure White?
Let's Recapitulate
Analyze your test strip under normal lighting conditions. Your test strip ranges from the very dim exposure (5 sec) to the most contrasted (20 seconds, for example). If the 5 seconds exposure is already too dark, you will have to change your lens' aperture and close the diaphragm. If no part of the test strip shows enough shadows, you will do the opposite or expose for longer. Keep in mind the ideal position in aperture for your lens should be around 2 stops from wide open.
However, linear test strips—with exposure increments of 5, 10, 15, and 20 seconds—don't provide a balanced progression of tonal representation. Photographic paper responds logarithmically to light, meaning the density difference between shorter exposures (5 and 10 seconds) is far more noticeable than that between longer exposures (15 and 20 seconds) with a linear test strip.
For a more accurate tonal progression, consider using an F-stop test strip. My previous article explains how F-stops work. They are to be found on your lens : the quantity of lignt is doubled when you go from f/11 to f/8, as well as when you shoot at a shutter speed of 1/60 (instead of 1/125).
