The Darkroom Notebook - A Guide to Efficient Printing and Note-Keeping.

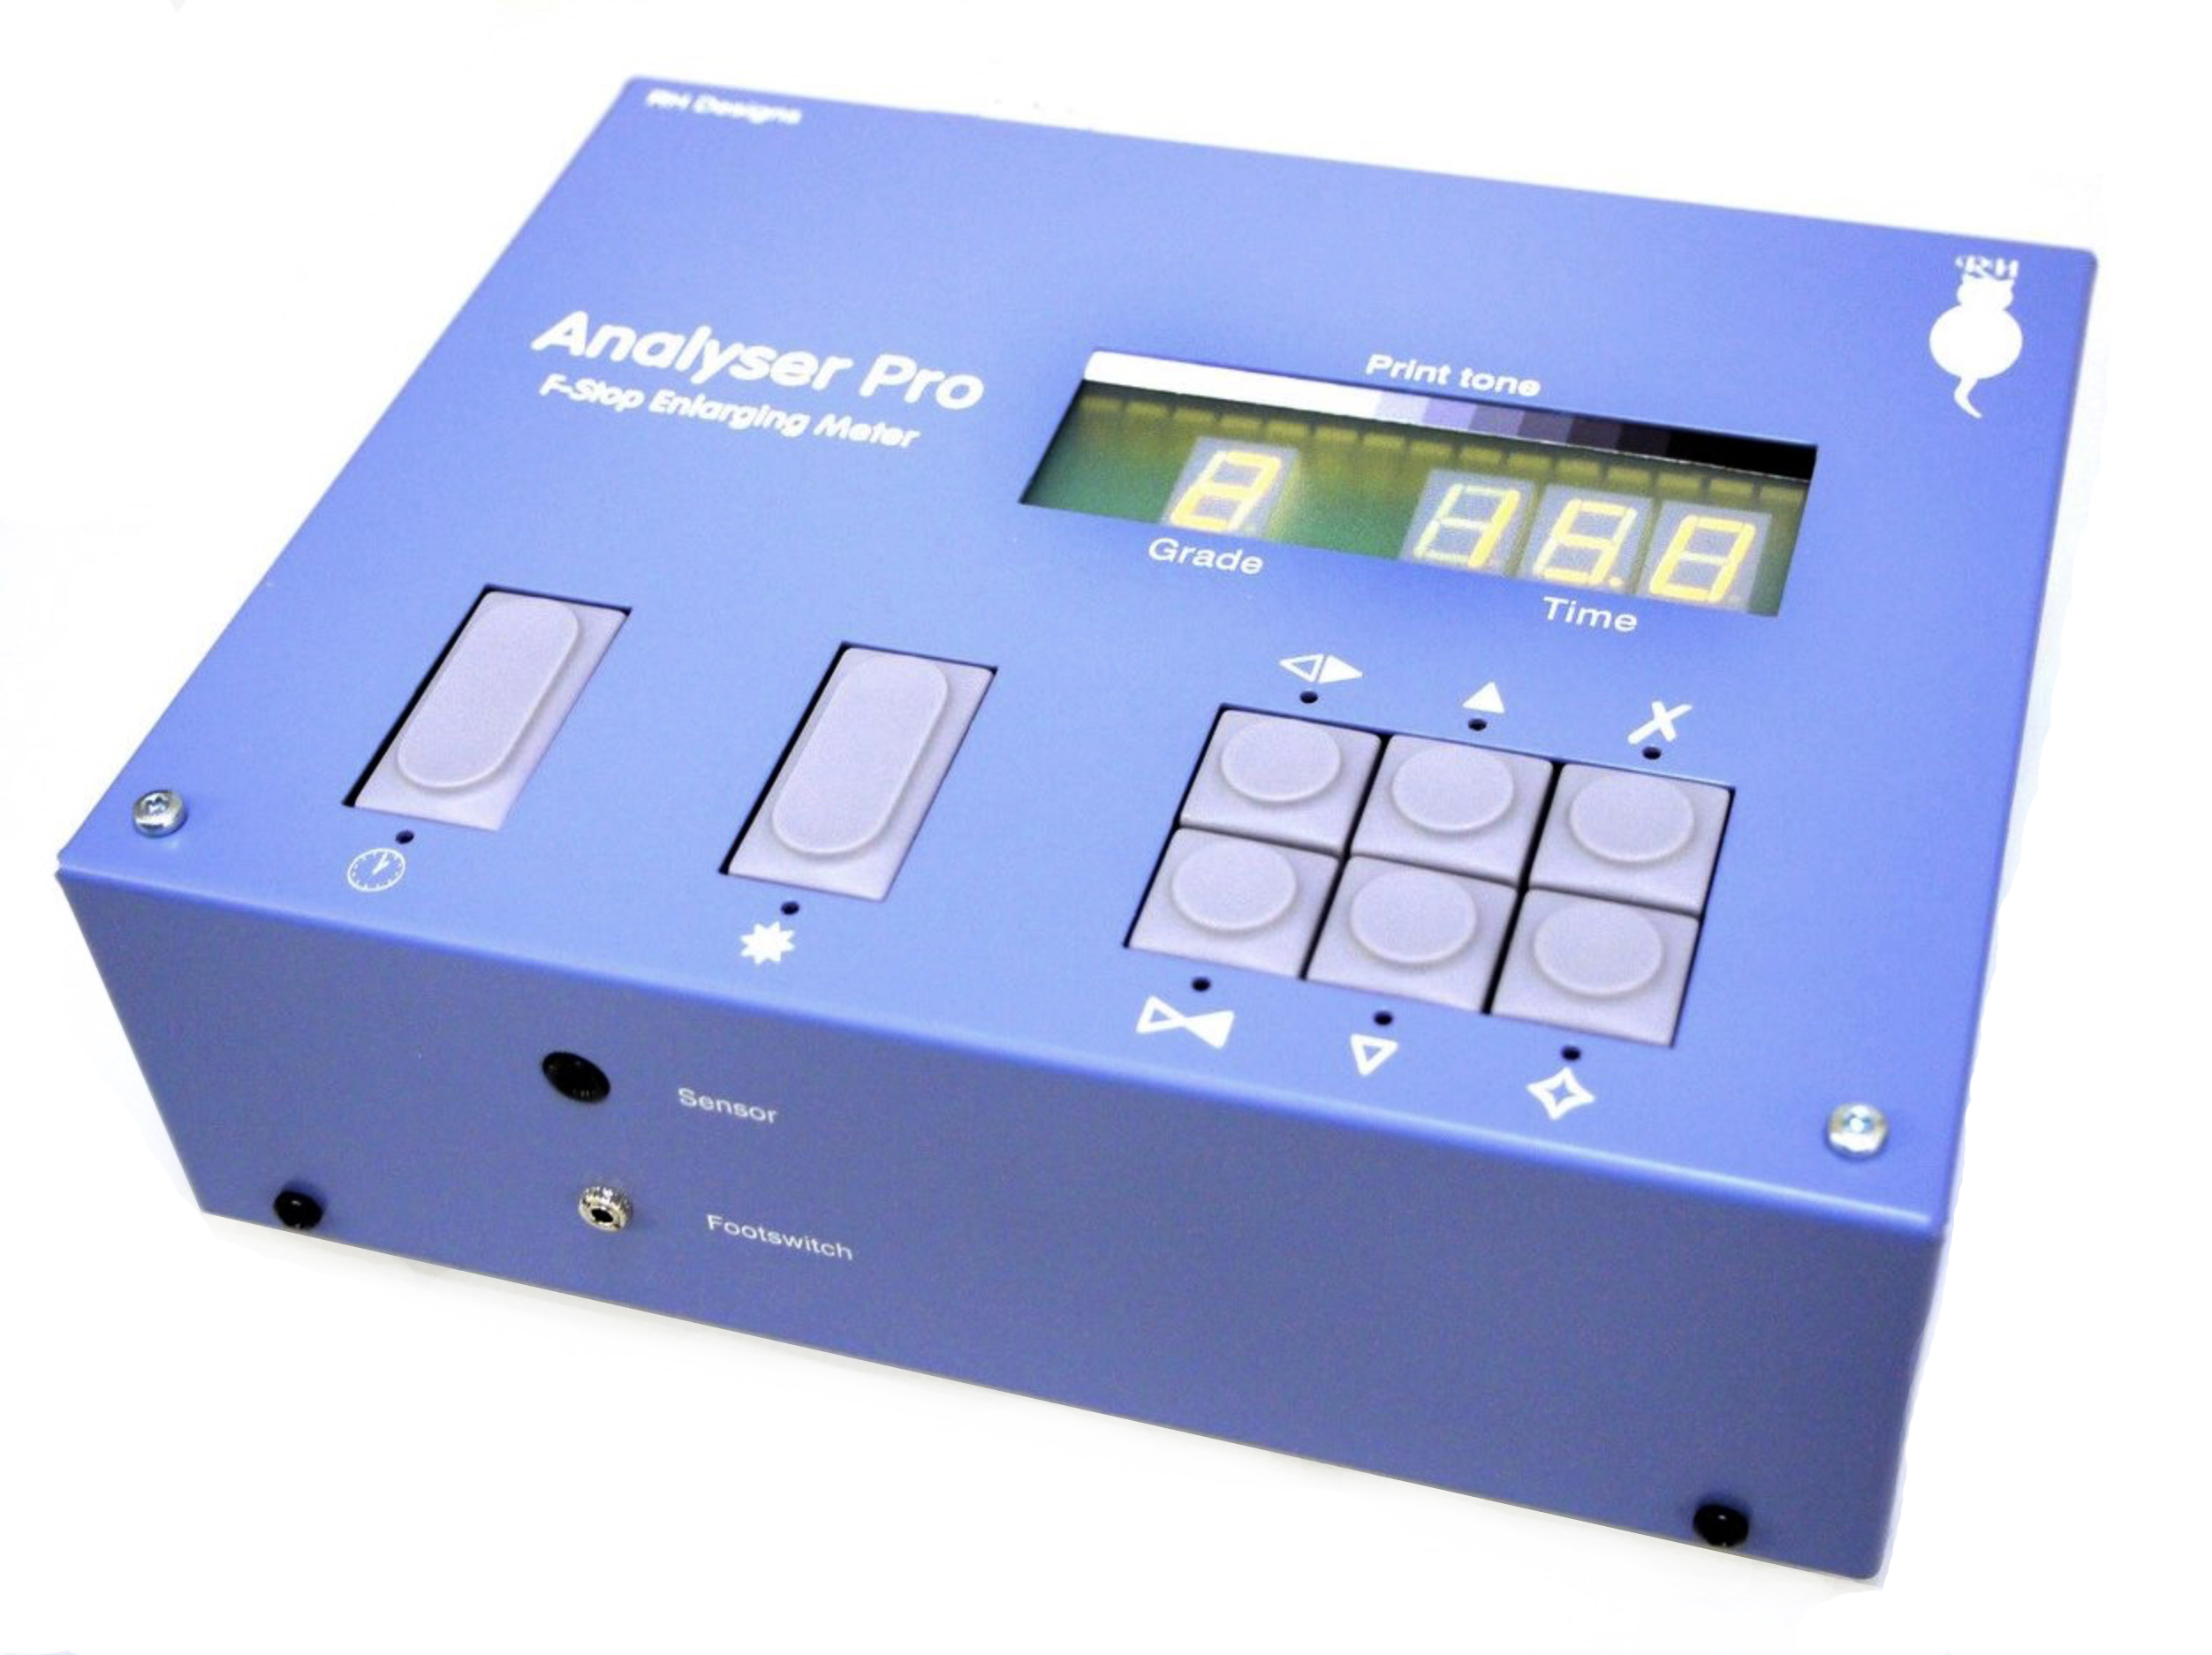
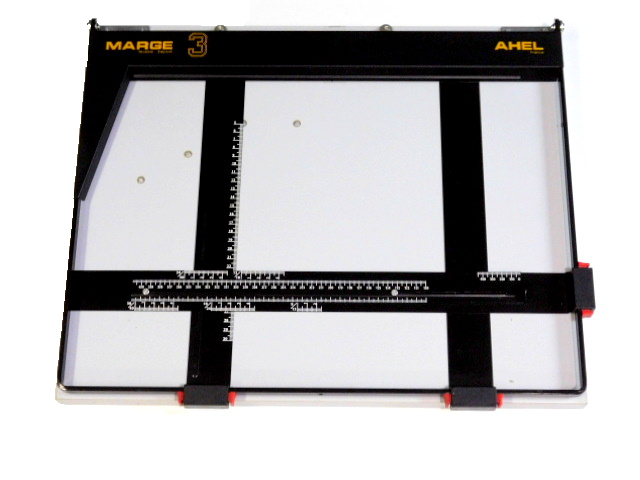
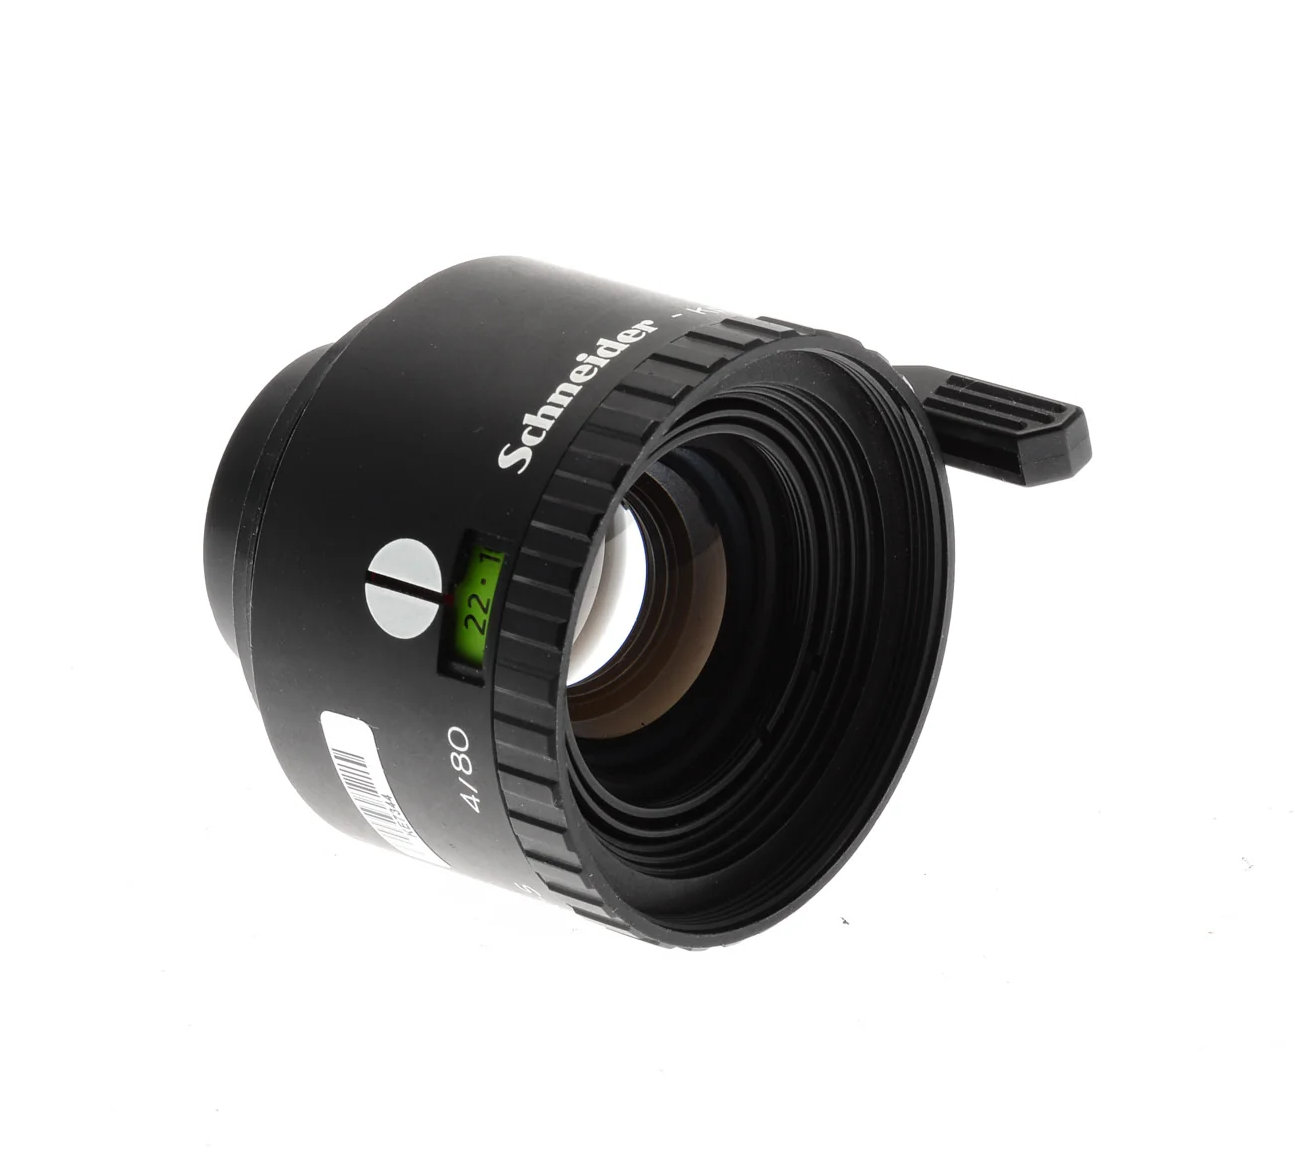
Darkroom Gear
Keeping Track
A good way to efficiently progress in printing in the darkroom is by keeping notes of your practice.
Film Development
I first realized this was essential when developing films : following only processing time charts provided by Ilford, for example, without taking into account the bath temperatures or the number and frequency of inversions (which can be done softly or more harshly), of agitations during the process can lead to unexpected results.
I decided to note down all these elements and adjust from there : my negatives lacked softness and were often overly contrasty. Reducing the development times by 10-15% allowed me to reduce tonal range and achieve a more balanced development.
Print Records
Here is an example :
Film number: 059
Film type : Fujifilm Acros 100 II
ISO : 100
Date : 17/07/2024
Pre-wash : 20 sec very gentle continuous rod agitation, 1 gentle inversion (turn tank upside down and reverse gently), 20 sec gentle continuous rod agitation
Developer dilution: Rodinal 1:50 (10ml + 490 ml)
Developing time : 11 minutes 30 seconds
Developing agitation : 20 sec very gentle continuous rod agitation
Developing inversion : 1 gentle inversion every 30 seconds + 2 gentle taps
Stopbath : Ilfostop : 1 minute gentle continuous rod agitation
Fixer dilution : Ilford Rapid Fixer 1+4 (60ml + 240ml)
Fixing time : 6 minutes
Fixing agitation : same as developing
Fixing inversion : same as developing
Analysis : The development results are very satisfactory overall. However, in some highly contrasted photos (backlit scenes), the dark areas lack detail. Additionally, there are very few blemishes or dust spots.
Improvements : reduce developing time by 10-15%.
Multigrade Paper - Low-High Contrast Filters
Before closing this article, I'll introduce multigrade and split-grade printing in the darkroom.
Modern photographic paper is often multigrade, be it resin-coated or fiber-based. This means it is coated with 2 emulsions :
* one is sensitive to blue light (for high contrast)
* the other is sensitive to green light (for low constrast)
Using filters, you can control the amount of green light (low contrast filter) or blue light (high contrast filter) that hits the emulsions.
Old photographic paper was fixed-grade : you then had to choose the paper and test which was more suited to the flatness or contrast of the negative.
Multigrade papers simplify the process: you can switch filters instead of changing paper types
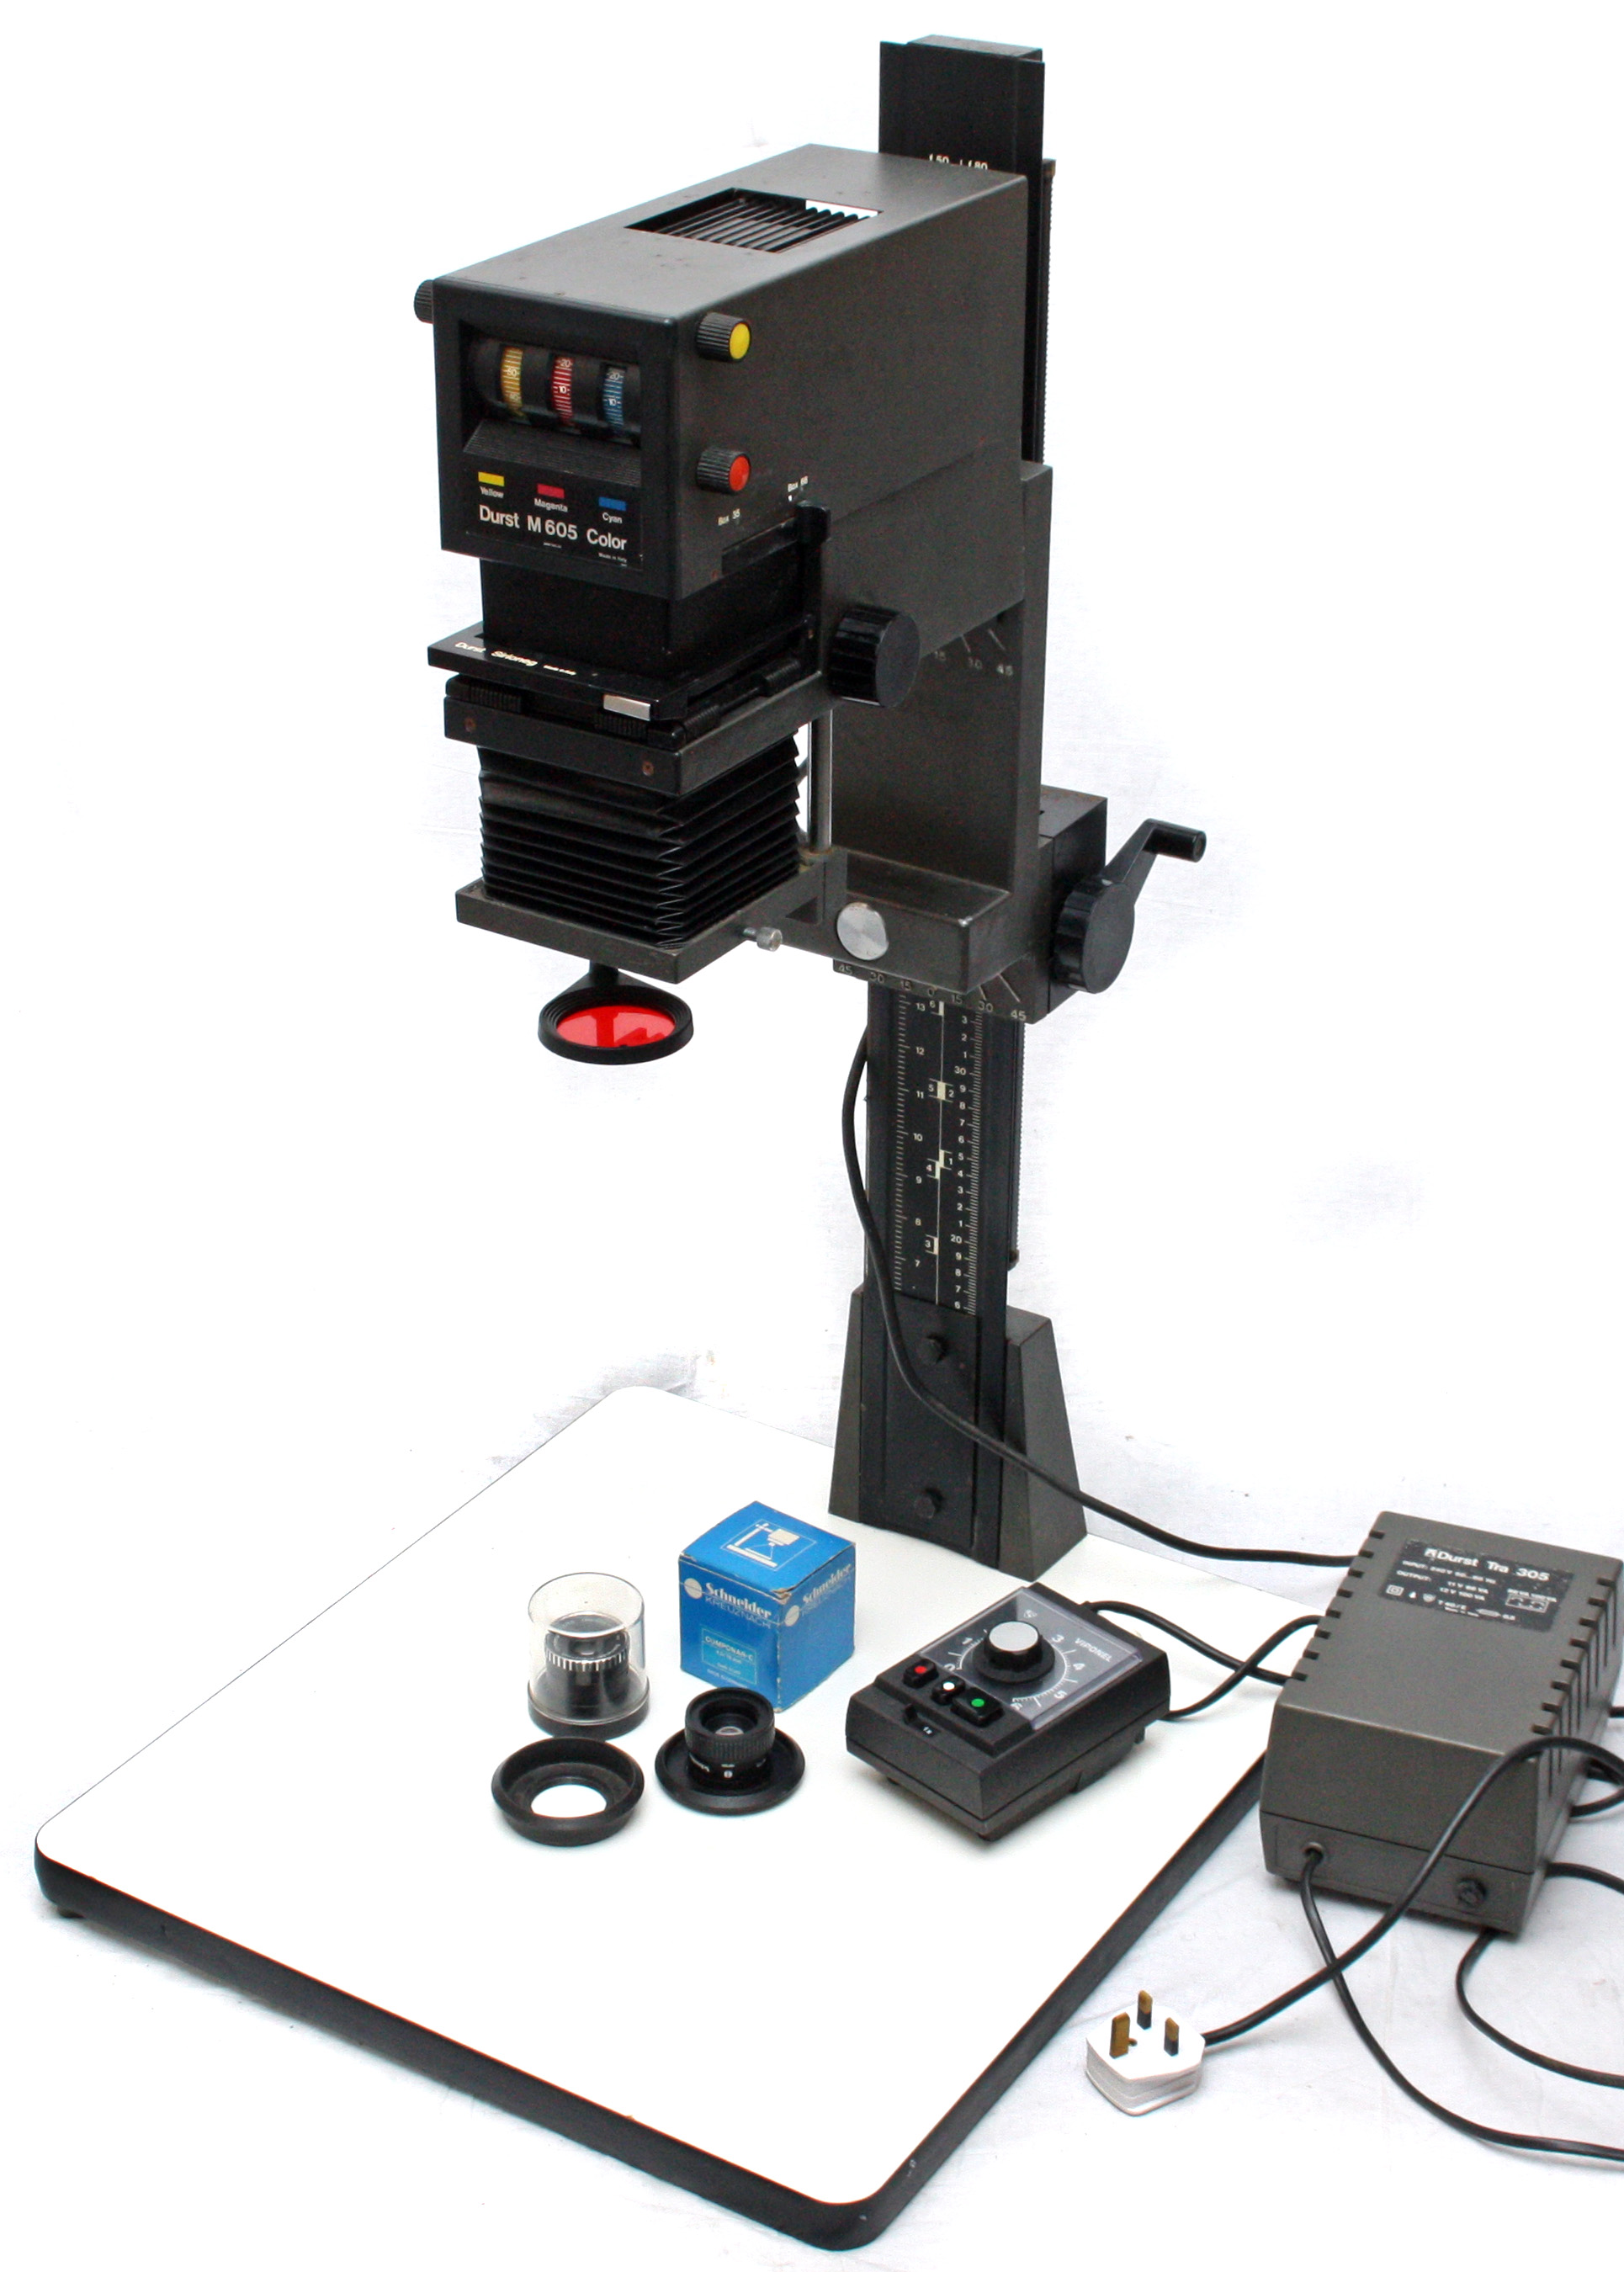
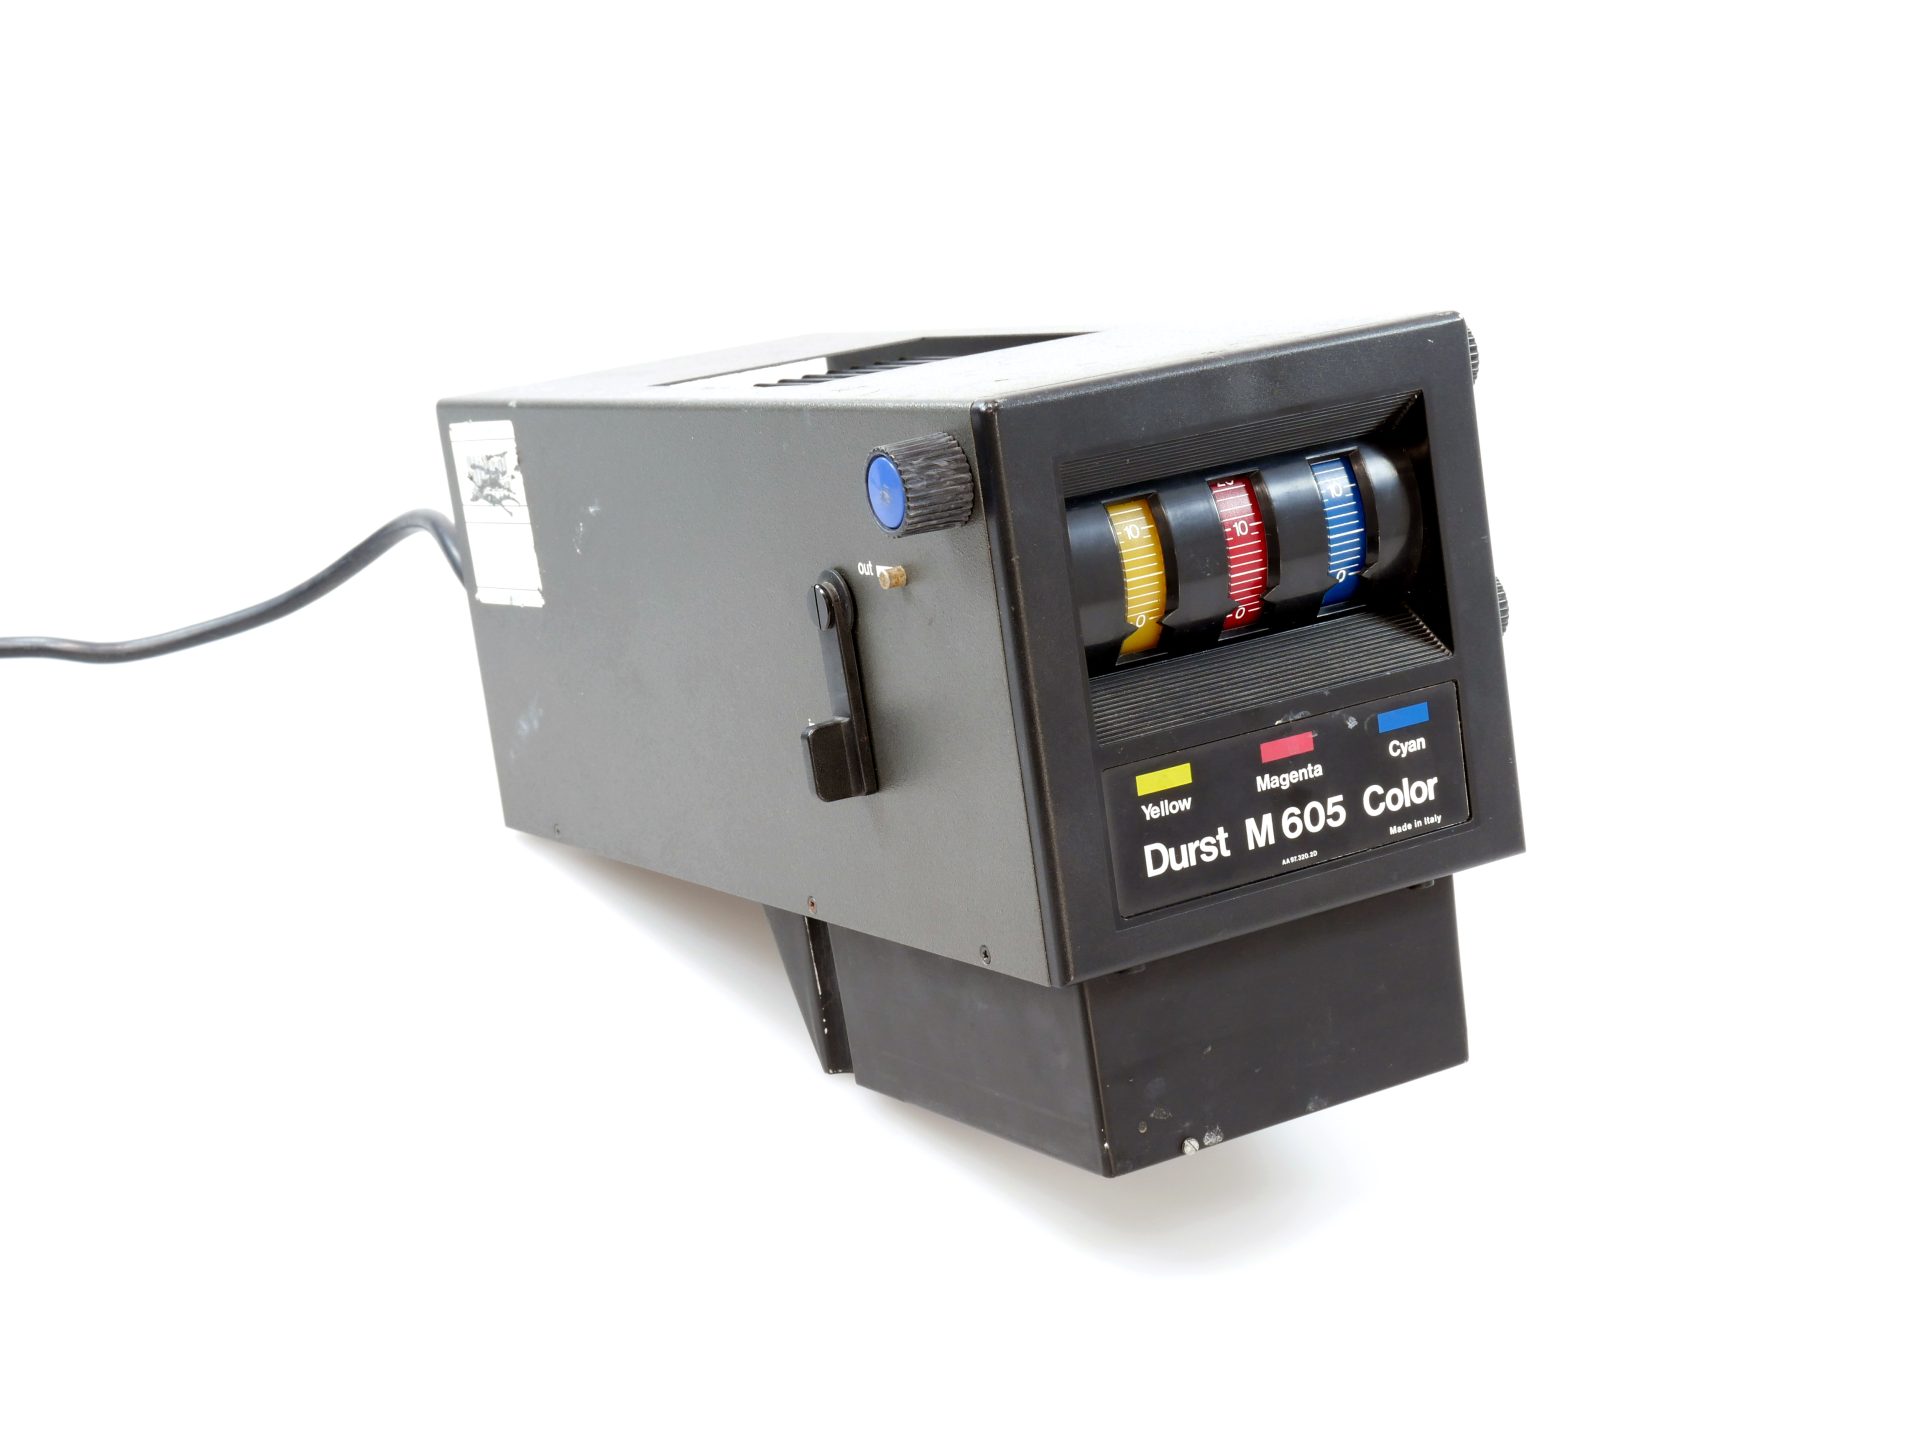
For years, I have been using my Durst M605 with its colour head : adjusting values of yellow and magenta (red) filters gave me the opportunity to reproduce multigrade filters using Ilford's table. According to this table, to configure the head with a filter grade 2 (), I adjust yellow filter at 45 and red filter at 24 :
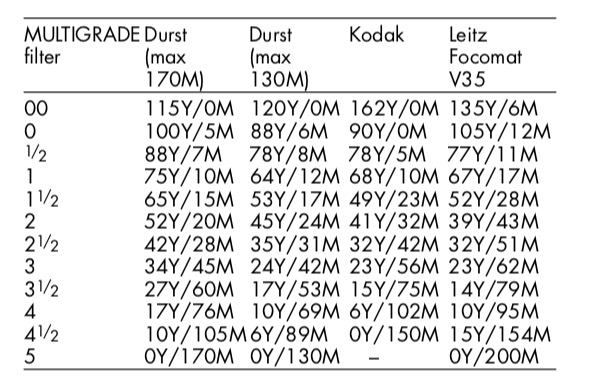
My Magenta maximum value on my Durst head being 130, I used the second column of the table below to adjust yellow and magenta values and reach filters correspondance. Graded filters are ranged from low contrast 00 to high contrast 5. Grade 2 is considered neutral contrast.
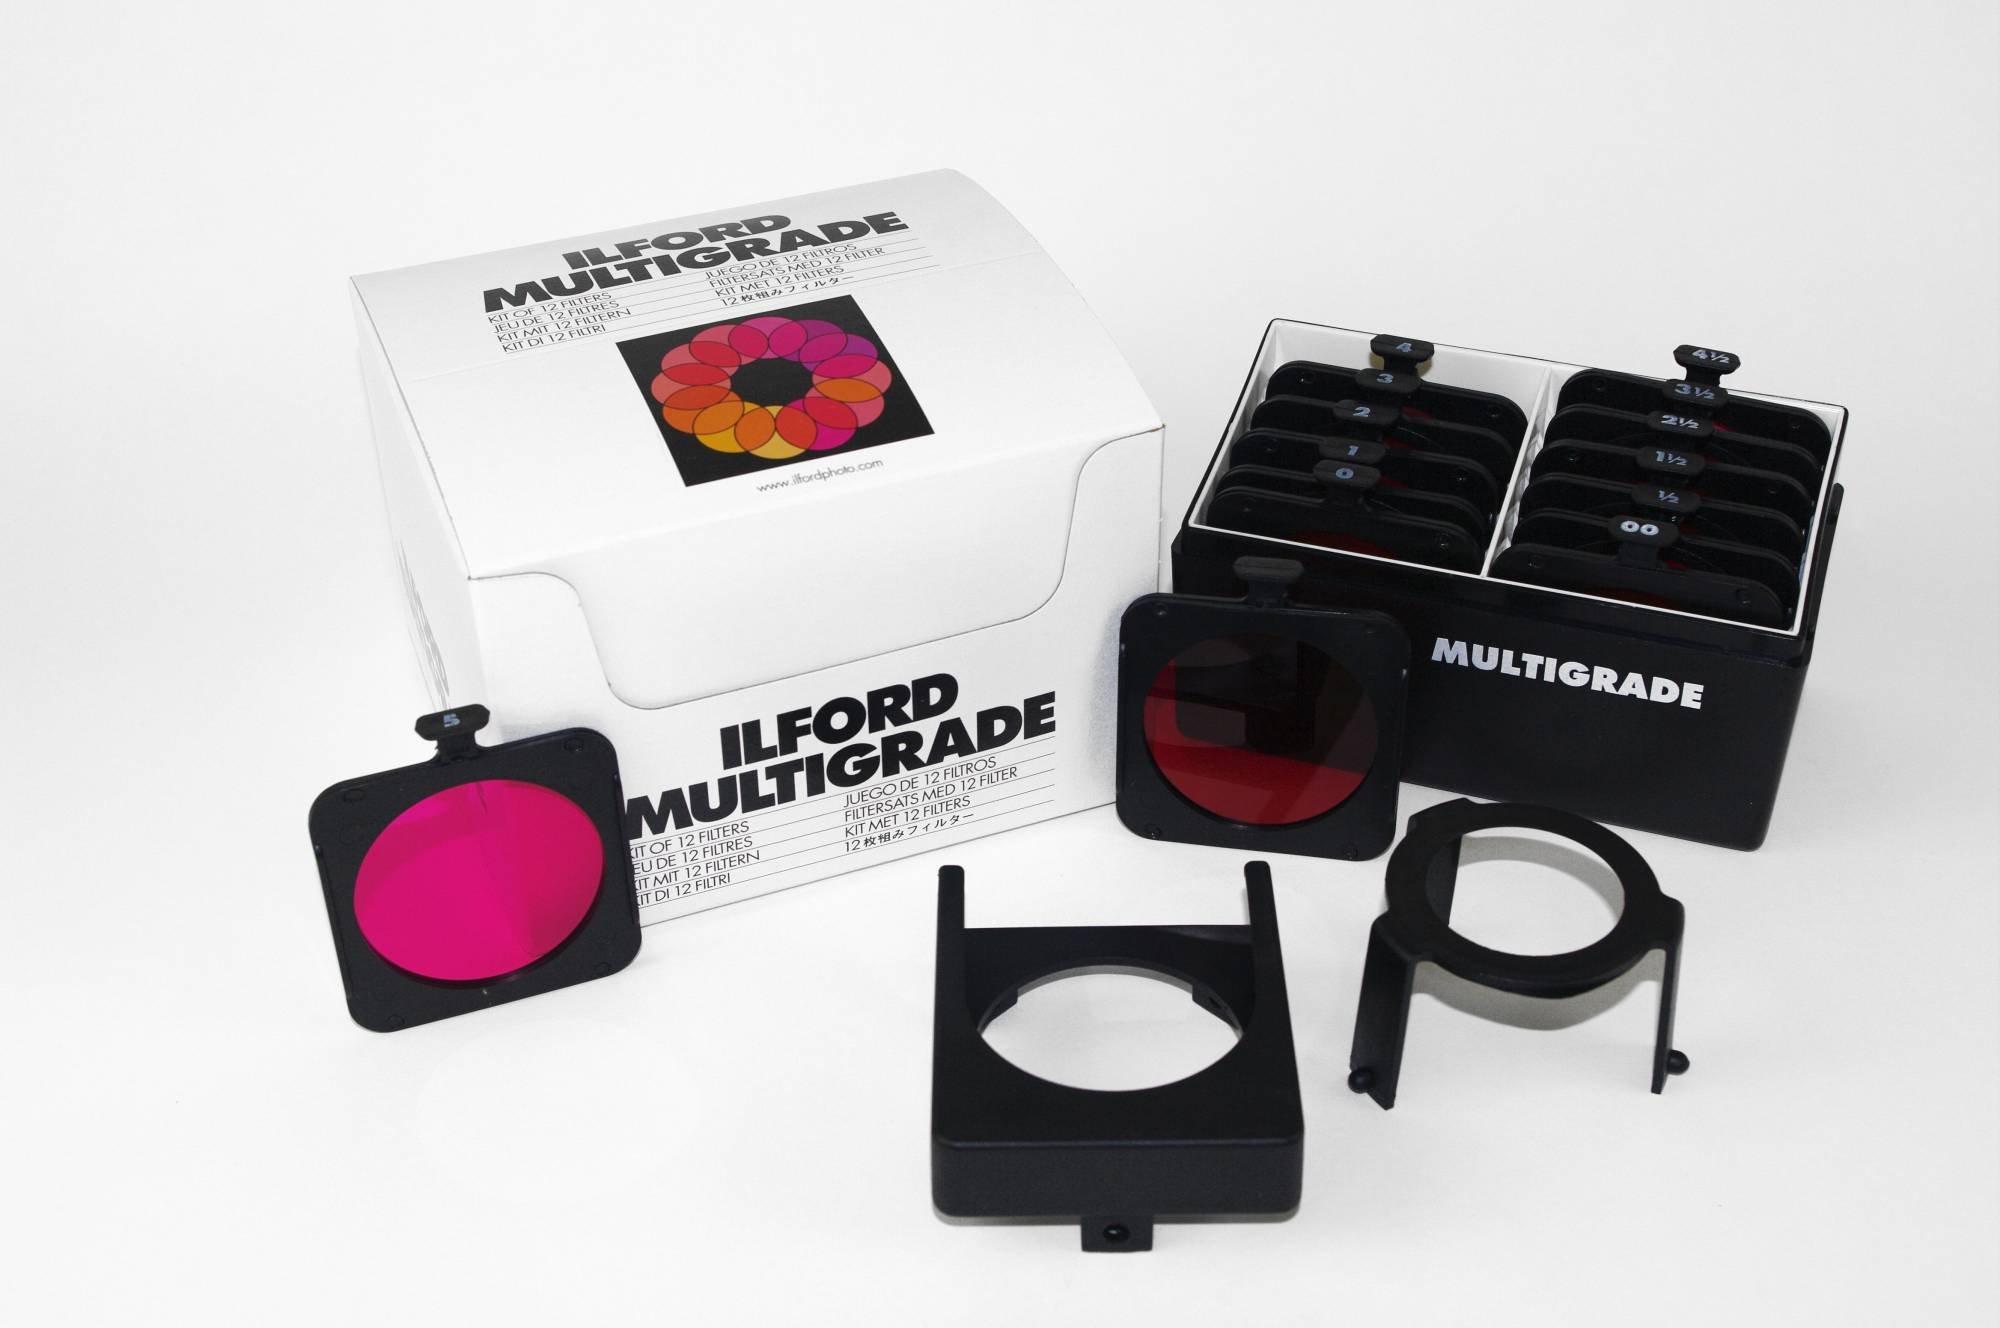
Tired of adjusting yellow and magenta values, I bought Ilford's below the lens filters kit for conveniance of use.
Split-Grade Printing
While researching on the use of below the lens filters, I came across split-grade printing. This techniques consists in using different grades to print the negative : a low contrast filter (soft grade 1 for example) to expose for the highlights of the image. A second exposure, with a higher contrast filter (hard grade 4 for example) is used to expose for shadows. This technique is thoroughly explained with practical examples by SROYON in his article Split Grade Printing – Darkroom Technique Part 4 – by Sroyon Mukherjee.
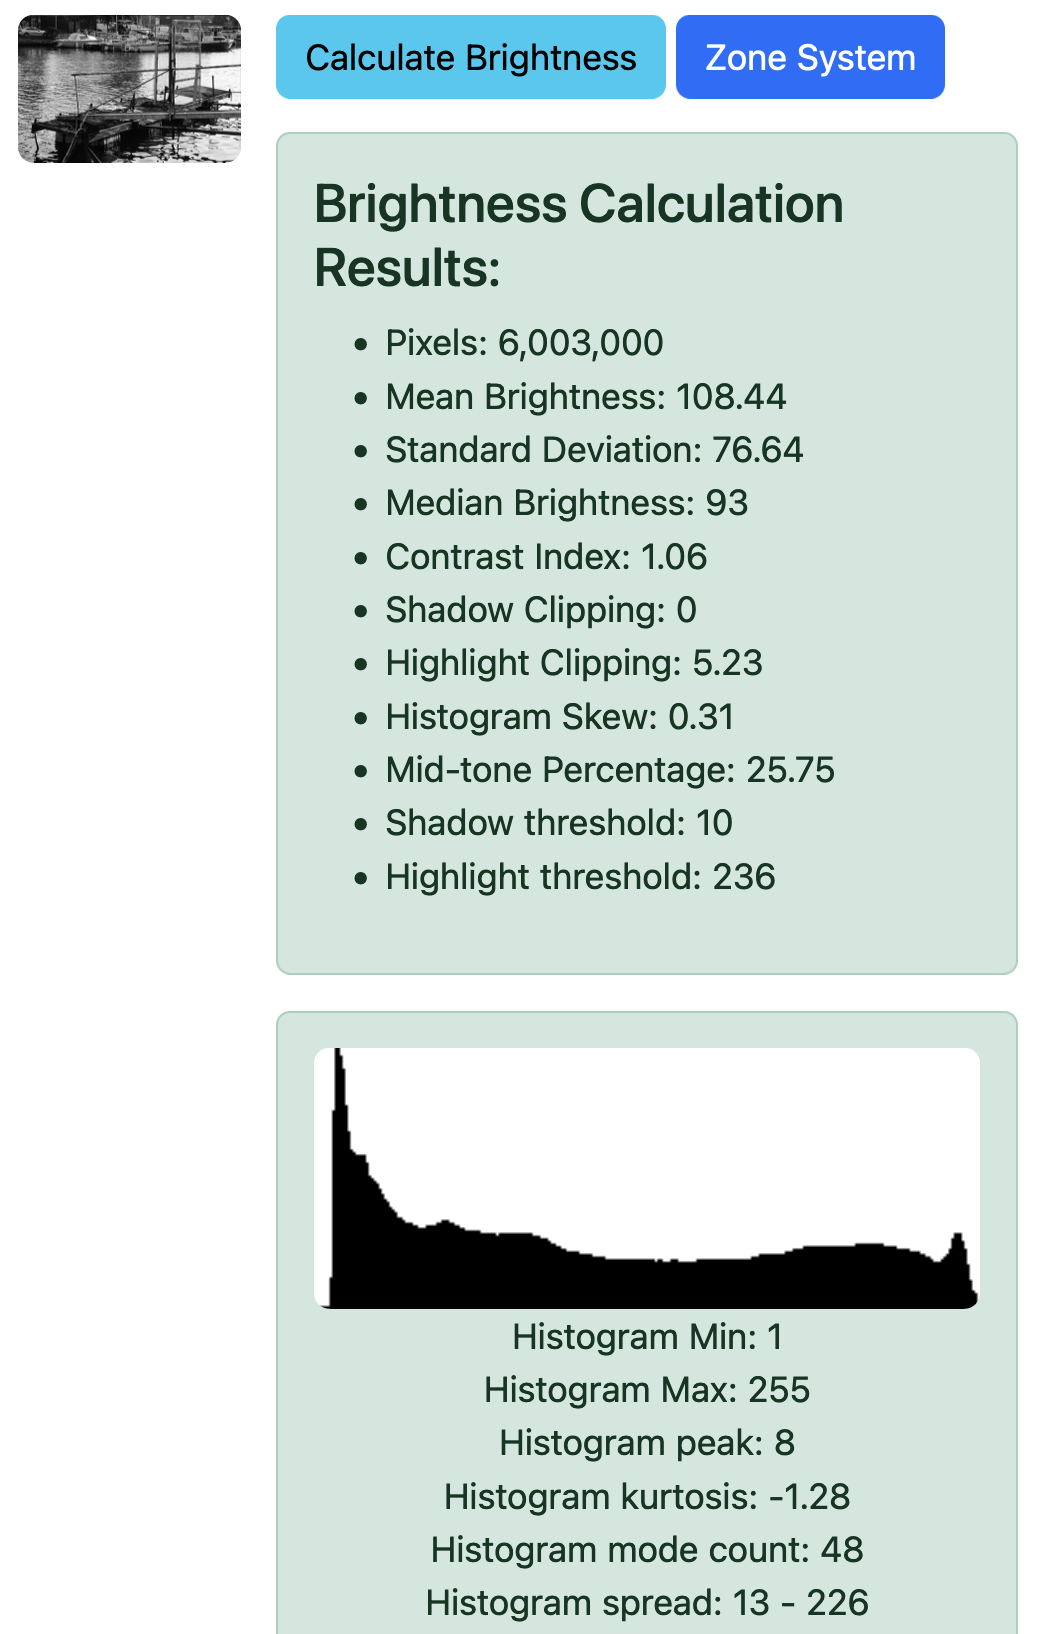
In the following example, I used split grade :
* first grade : GRADE 1 for 6 seconds +12 sec burn (see infra) zone 3
* second grade : GRADE 4 for 6 seconds dodging (see infra) zones 1 and 2 for 2 seconds each

Dodging and burning
Dodging and burning are techniques you use during exposure to treat specifically areas in the picture that need :
* LESS light to be rendered more correctly. This technique is used during base exposure. The part of the face of a person that is in the shadow of his hat, a dark element (like a tree trunk) that doesn't require as much light as the rest of the picture,... In that case, we use the dodging technique. I attached a cardboard disc of 1.5 cm diameter to the end of a thin metallic wire and I move it under the lens to occult the desired zone during part of the exposure.
* MORE light to be rendered more firmly. This techinque is used after base exposure. The edge of the picture that contains the sky, the face of a person if it's in sunlight, a white shirt that shows too few details with the base exposure. In those cases, you will BURN that specific part of the image. I use a piece of cardboard (20 cm by 15 cm) in which I drilled a hole of 1 cm diameter. I show this piece of cardboard under the lens and move it constantly in the required zone.
Final thoughts
Printing in a darkroom is an experience that will develop your precision and creativity. I hope this article could guide you to more precision in the process and so doing, improve the quality of your prints. By understanding your gear, mastering techniques like split-grade printing, and meticulously recording your practices, you can consistently produce prints that reflect your artistic vision.
Whether you’re a seasoned darkroom enthusiast or a curious beginner, the magic of watching an image emerge under the safelight is an irreplaceable reward. Let your passion for photography guide you, and never stop learning from your experiences.