Turn manual, turn Spot metering
A question of pleasure
Analog film photography
Basic principles: lens aperture and shutter speed
What any camera does, be it a Single-Lens Reflex camera or a smartphone, is letting a certain amount of light enter its body to hit the film or sensor for a certain amount of time.
In film photography, those elements are determined by :
* the ISO of the film : it determines its sensitivity to light. A low ISO (100) will require bright circumstances and provide fine grain. A high ISO (800) will be suited in low-light conditions but will also introduce more grain or "noise"
* the lens aperture : the diaphragm in the lens can be open wide (aperture of 1.2, 1.8 values) or shut (aperture of 22, 32) to let more or less light in
* the shutter speed : a shutter placed in the camera body between the lens and the film will protect the film from being hit by the light that comes through the lens. When pressing the release button to take the picture, the shutter lifts and lets the film be hit by the light. With a speed of 1/2000 of a second, you will be able to freeze a fast-moving F1-car and get a sharp image.
According to the context, you will have to find the right balance between shutter speed and lens aperture. More exposure time lets you close the diaphragm. Less exposure time will need more light through the lens (= open your diaph).
Understanding aperture - F-stop, focal length, diaphragm diameter, depth of field
Aperture values are inversely related to the size of the aperture opening. This value is called the f-stop and is calculated as the ratio between the focal length (50mm for an example lens) and the diameter of the aperture.
For instance, an aperture value or f-stop of f/1.8 corresponds to a wide open diaphragm, which allows a large amount of light to enter. The ratio 50mm / 1.8 gives a diaphragm diameter of 27.78mm.
On the other hand, when you set your aperture to a smaller f-stop like f/22, the ratio becomes 50mm / 22, resulting in a much smaller aperture diameter of about 2.27mm. This smaller aperture lets in far less light.
Everytime you move to the next f-stop (increasing the f-stop from 1.8 to 2.8), you cut the amount of light entering the camera by half. This has consequences :
* the image gets darker (less light)
* more of the scene will be in focus : the depth of field (DoF) between the blurry foreground and the blurry background will be greater
* the light passing through a narrower aperture induces diffraction : the waves of light interfere with each other, making the edges of the image less sharp.
When decreasing the f-stop (from 2.8 to 1.8, you double the amount of light entering the camera.
Getting a grip on shutter speed
The shutter speed refers to the amount of time the camera's shutter is open, allowing light to hit the film.
Fast moving objects that you want to capture sharp can be photographed with a shutter speed of 1/1000 of a second.
Passing from 1/1000 to 1/500 will double the amount of light.
Motion blur will arise when the shutter speed is set low. In low-light situations, moving persons or limbs will be blurred at 1/30 of a second.
When you double the aperture area by changing from f/11 to f/8, the light entering the camera increases by a factor of 2. To maintain the same exposure, you can compensate by halving the exposure time, adjusting the shutter speed from 1/125 to 1/250.
Shooting modes
A film camera usually offers the choice between shooting modes :
* P : for Programmed auto : the camera controls the shutter speed and the lens aperture automatically
* S : for Shutter-priority : you set the shutter speed and the camera adjusts the lens aperture
* A : for Aperture-priority : you set the aperture and the camera select the correct shutter speed
* M : for Manual : you set both aperture and shutter speed.
So when shooting flying birds, you may want to use S mode and choose 1/1000s for shutter speed. The camera will automatically adjust the aperture for correct exposure. This can be done by looking at the exposure meter standing as a horizontal bar with a scale ranging from -2 to +2. This exposure meter is to be found in the viewfinder or on the camera screen. 0 is considered correct exposure, -2 is underexposed (too dark), +2 is overexposed (too bright).
On the contrary, if you want to shoot at the sharpest aperture of your lens, let's say f/5.6, you can choose the A mode. The camera will automatically set the appropriate shutter speed to ensure correct exposure.
Correct exposure - Middle gray - Zone system - Stop metering
Most camera light meters evaluate the scene and try to reach a balanced brightness : highlights should not be blown out and shadows should not be too dark. Both highlights and shadows should still show details.
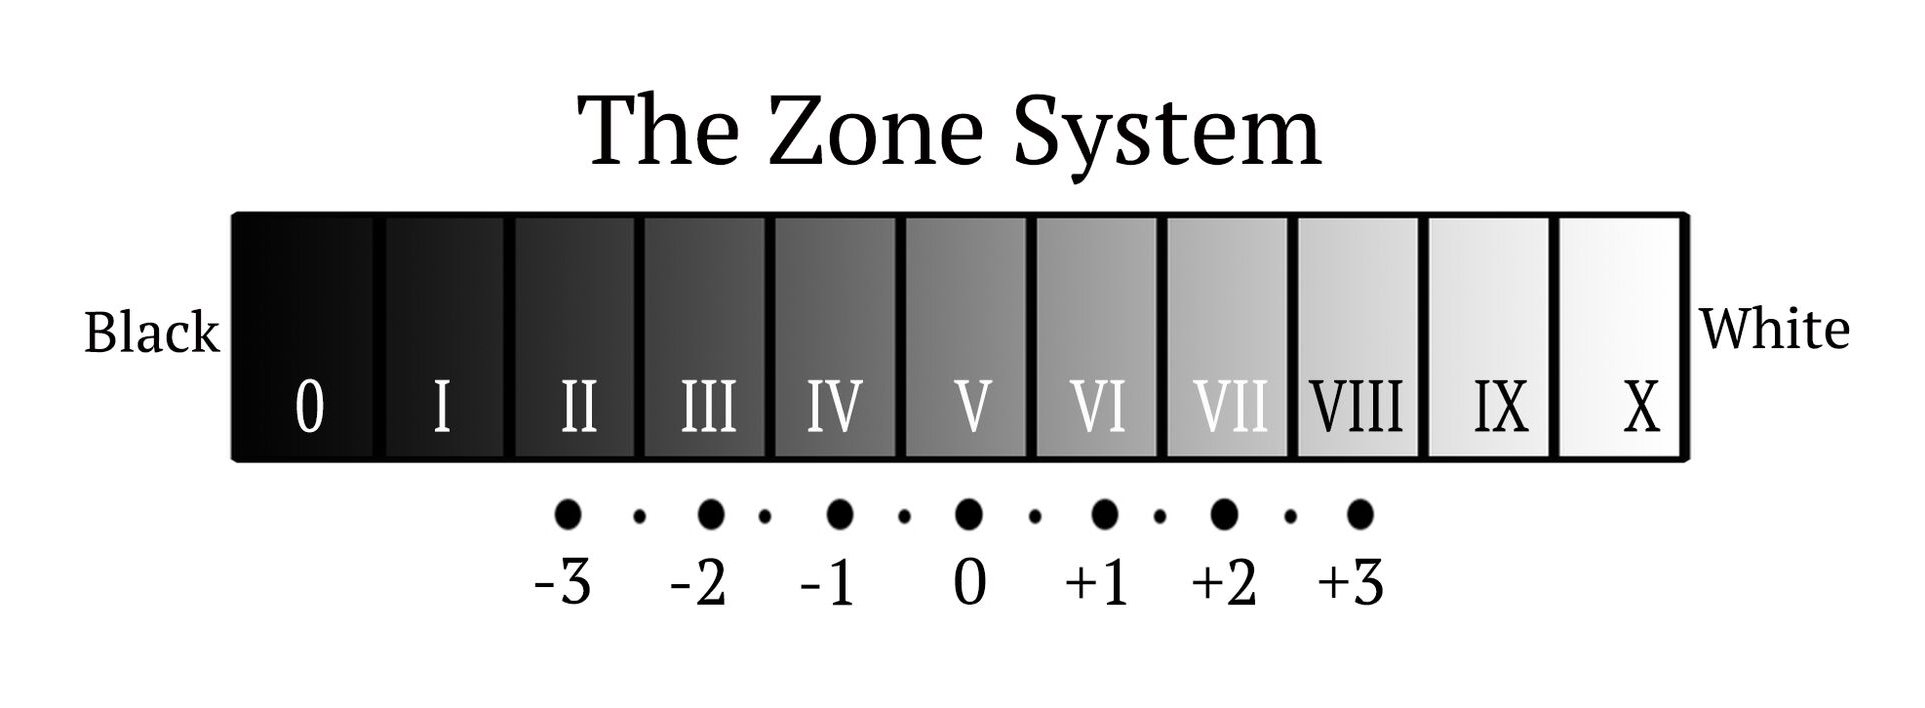
Ansel Adams and Fred Archer have developed a method called Zone System to control exposure and tonal range in photography. It divides the tonal range of an image in 11 zones, from pure black (Zone 0) to pure white (Zone 10), with middle gray in Zone V :

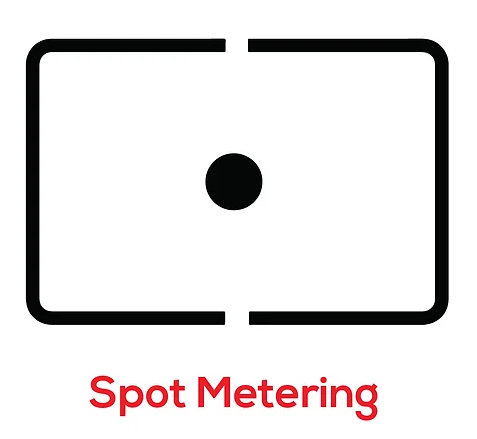
There's a one-stop difference in exposure between each zone. When analyzing a scene, determine an element (shadow / highlight) that could be critical. In order to meter the exposure in that particular area, switch to spot metering :

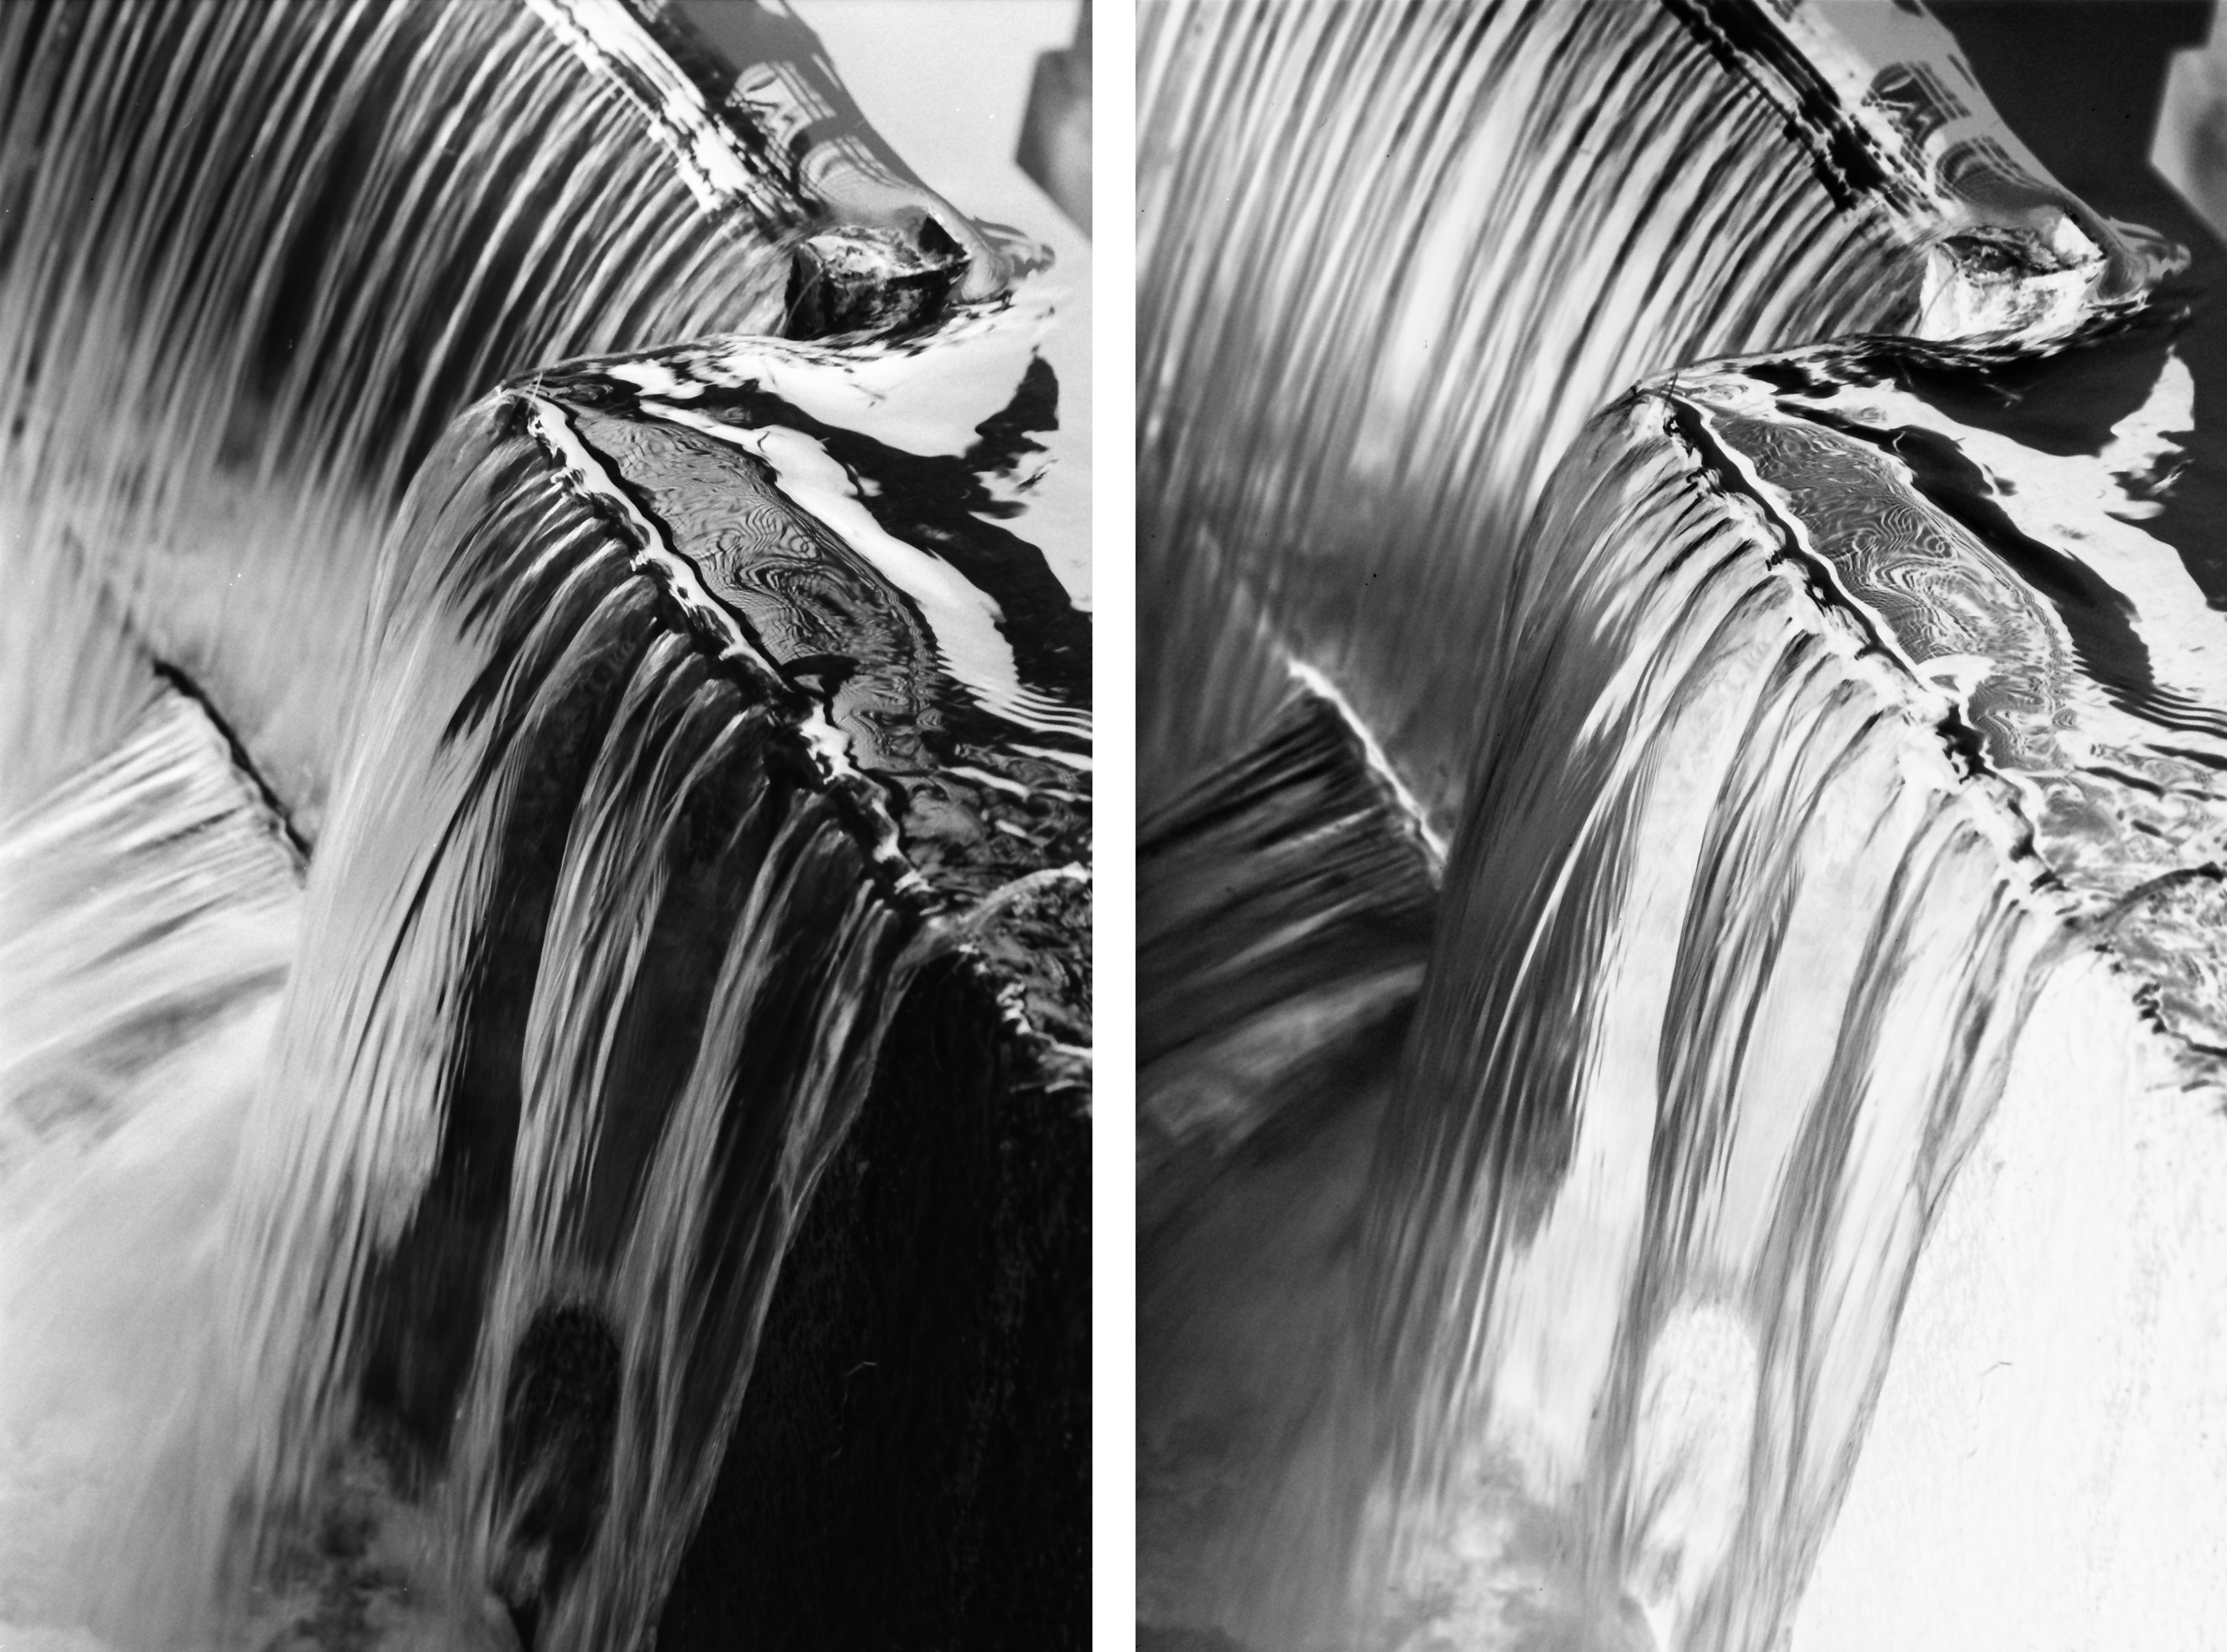
If you meter a strong highlight area, it will be shown as middle gray (zone V). You can add 3 stops to make it zone VIII (shift from f/8 to f/2.8 or from 1/250 to 1/30).
If you meter a shadow area, it will be shown as middle gray (zone V). You can retrieve 2 stops to make it zone III (shift from f/2.8 to f/5.6 or from 1/125 to 1/500).
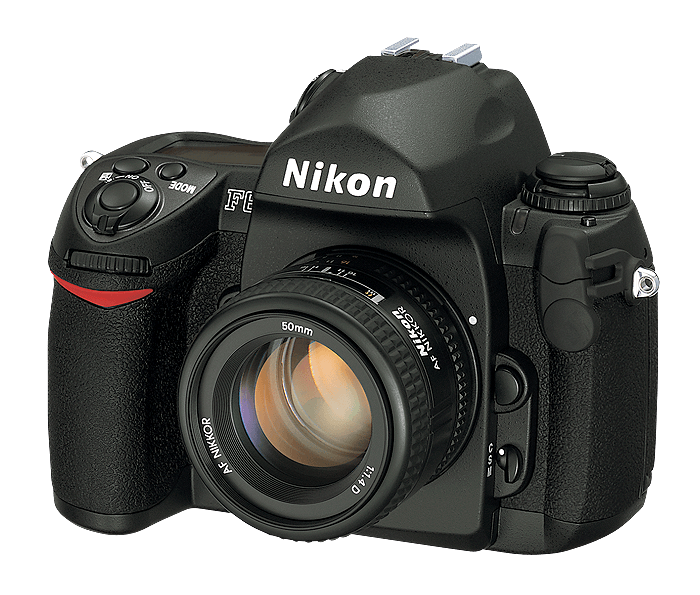
Some cameras like the Nikon D850 have a default stop increment of 1/3 of a stop. You can access the "Custom Setting Menu" to change it to 1/2 of a stop or to 1 stop. I usually use increments of 1/3 of a stop and turn the dial 3 times to reach 1 stop. Using increments of 1/3 of a stop allows you to place an element of your subject in zone V 1/3 or IV 2/3, for example.


